Solstice Lantern
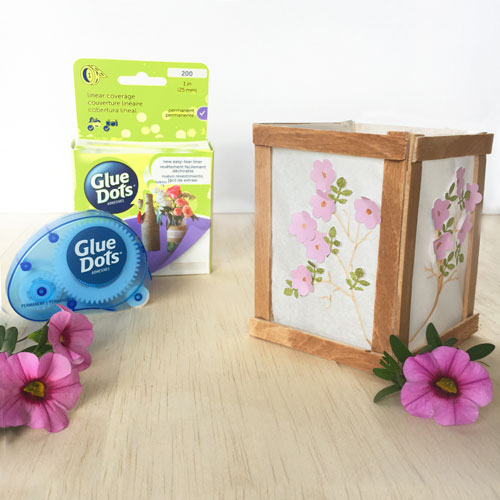
Light up the winter solstice with this simple lantern (or make them as centrepieces for a wedding or party). Greaseproof paper provides a translucent effect, allowing soft light to shine through the embellishments.
To make these gorgeous lanterns, stain icy-pole sticks to bring out the natural wood texture. Add Glue Dots to the corners of each stick and Glue Lines along the length. Attach greaseproof paper and trim off the excess. Assemble the lantern using Glue Lines.
To finish your lantern, paint a design with watercolour and attach paper flowers with mini Glue Dots. You can theme your lantern to suit your occasion (silhouette shapes work well).
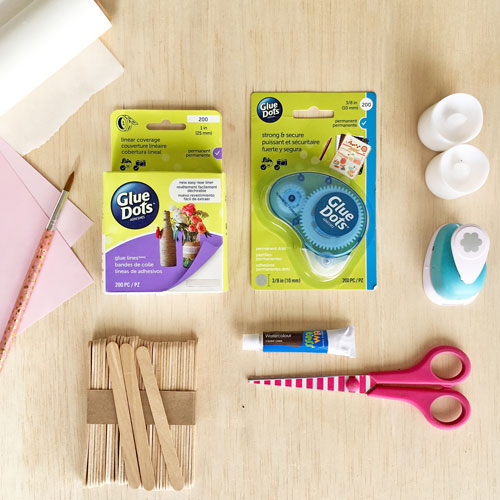
Step 1: Gather your materials
For this project you will need:
- Glue Lines, Permanent Glue Dots and Mini Glue Dots
- Icy-pole Sticks
- Greaseproof Paper
- Coloured Card
- Watercolour Paint & Brush
- Assorted Paper Punches
- Scissors
- Battery Operated Tea Lights
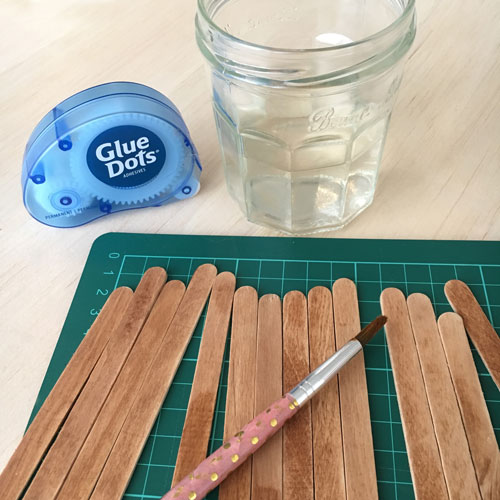
Step 2: Stain the icy pole sticks
Stain the icy-pole sticks with brown watercolour to bring out the natural wood texture.
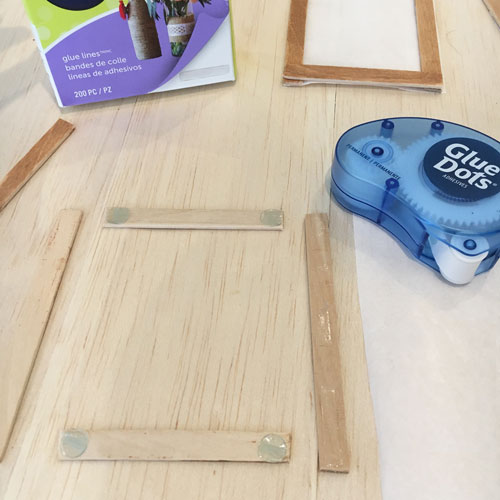
Step 3: Add Glue Dots & Lines
Add Glue Dots to the corners of the sticks and Glue Lines down the length.
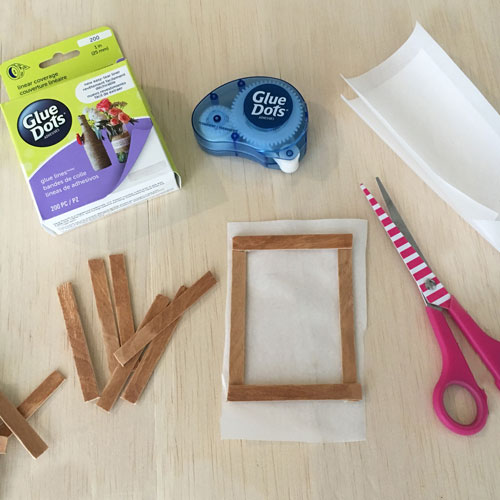
Step 4: Make the frames
Create a frame with the sticks and attach to a rectangle of greaseproof paper. Trim excess paper using the icy-pole stick as a guide. Make 4.
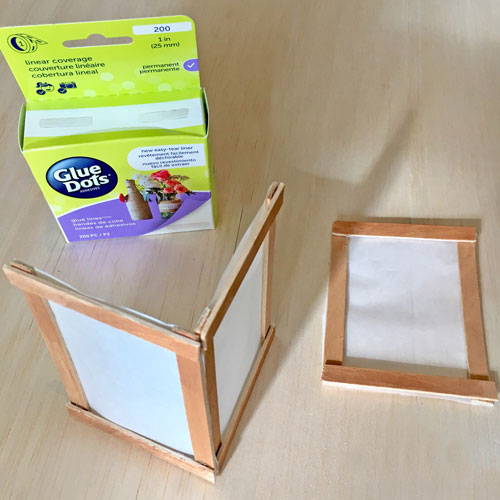
Step 5: Construct the lantern
Use Glue Lines to hold your lantern together by securing the edges at each corner.

Step 5: Finish the lantern
Use Mini Glue Dots, paper shapes and watercolour paint to decorate the outside of your lantern. We chose a cherry blossom style, but you can theme your lantern to suit the occasion. Silhouette shapes work well also.


