Valentine’s Day Chocolate Rose

Combine two Valntine’s Day favourites by making your loved one a chocolate rose. Delicate crepe paper makes for perfect petals concealing a hidden chocolate treat in the centre – all held together with Glue Dots.
Step 1: Gather your materials
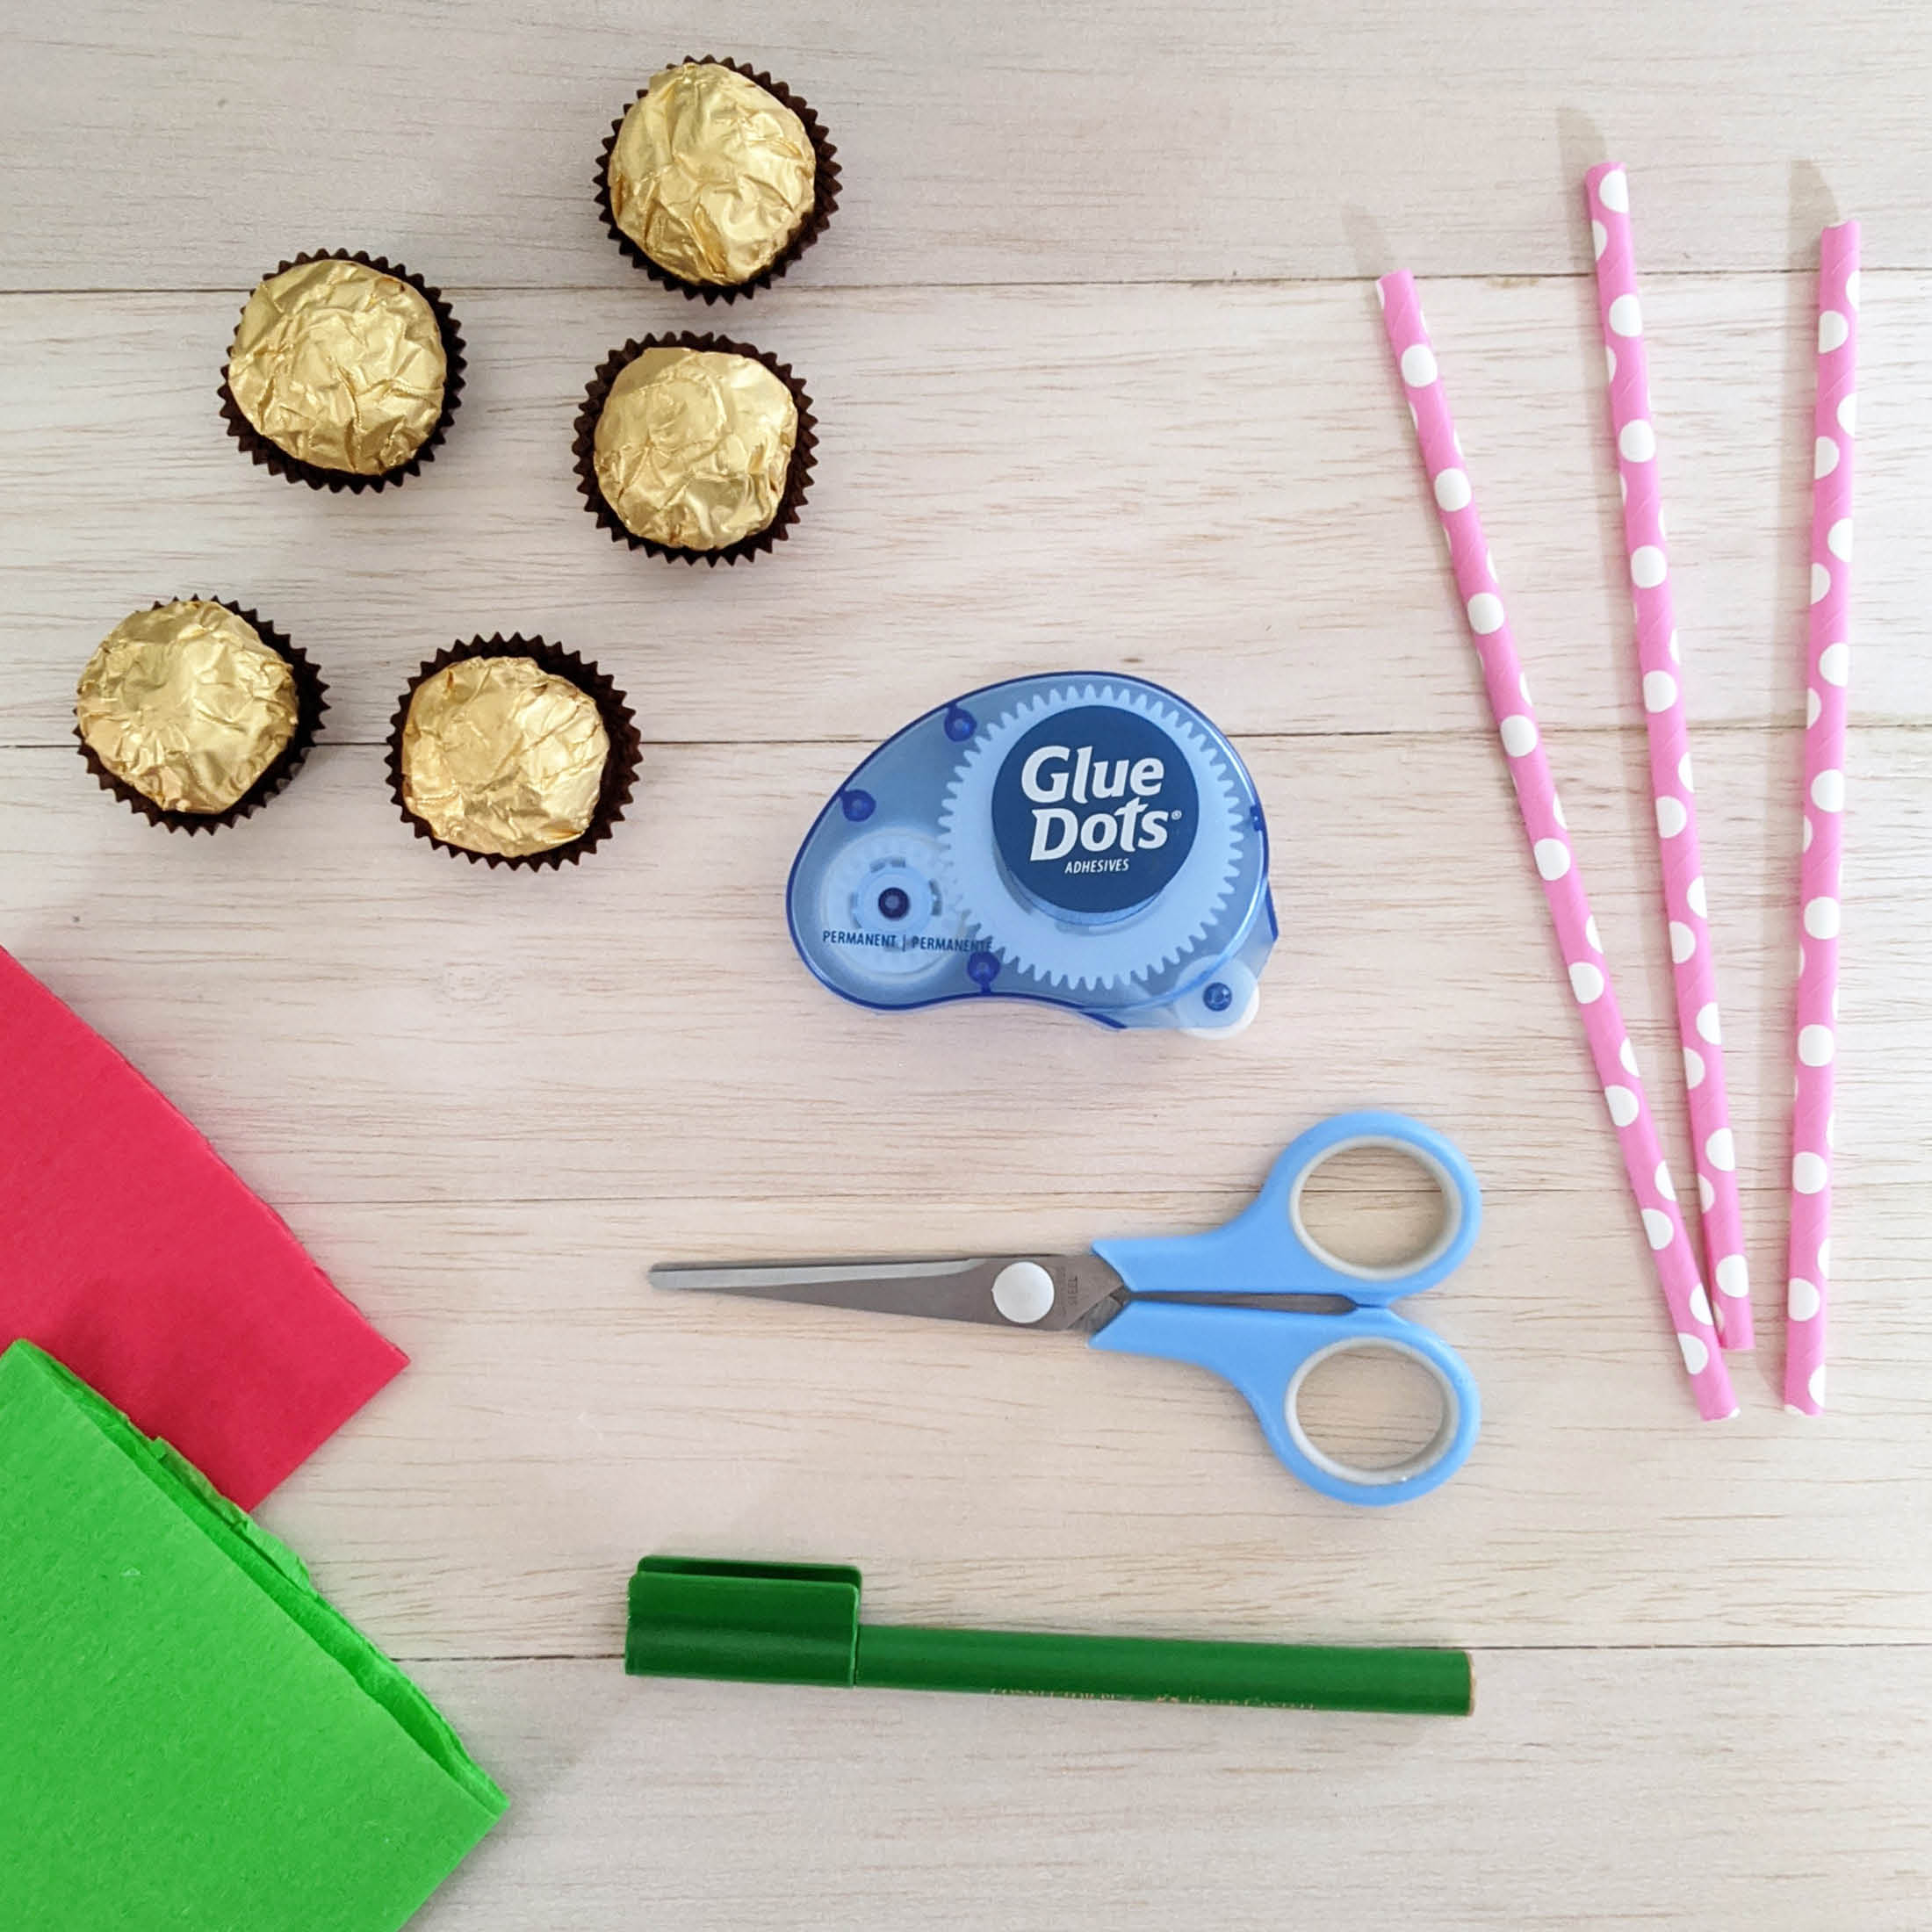
For this project you will need:
- Permanent Glue Dots
- Paper Straws
- Round/Ball Shaped Chocolates
- Green and Red Crepe Paper
- Scissors
- Green Marker
Step 2: Cut the straw
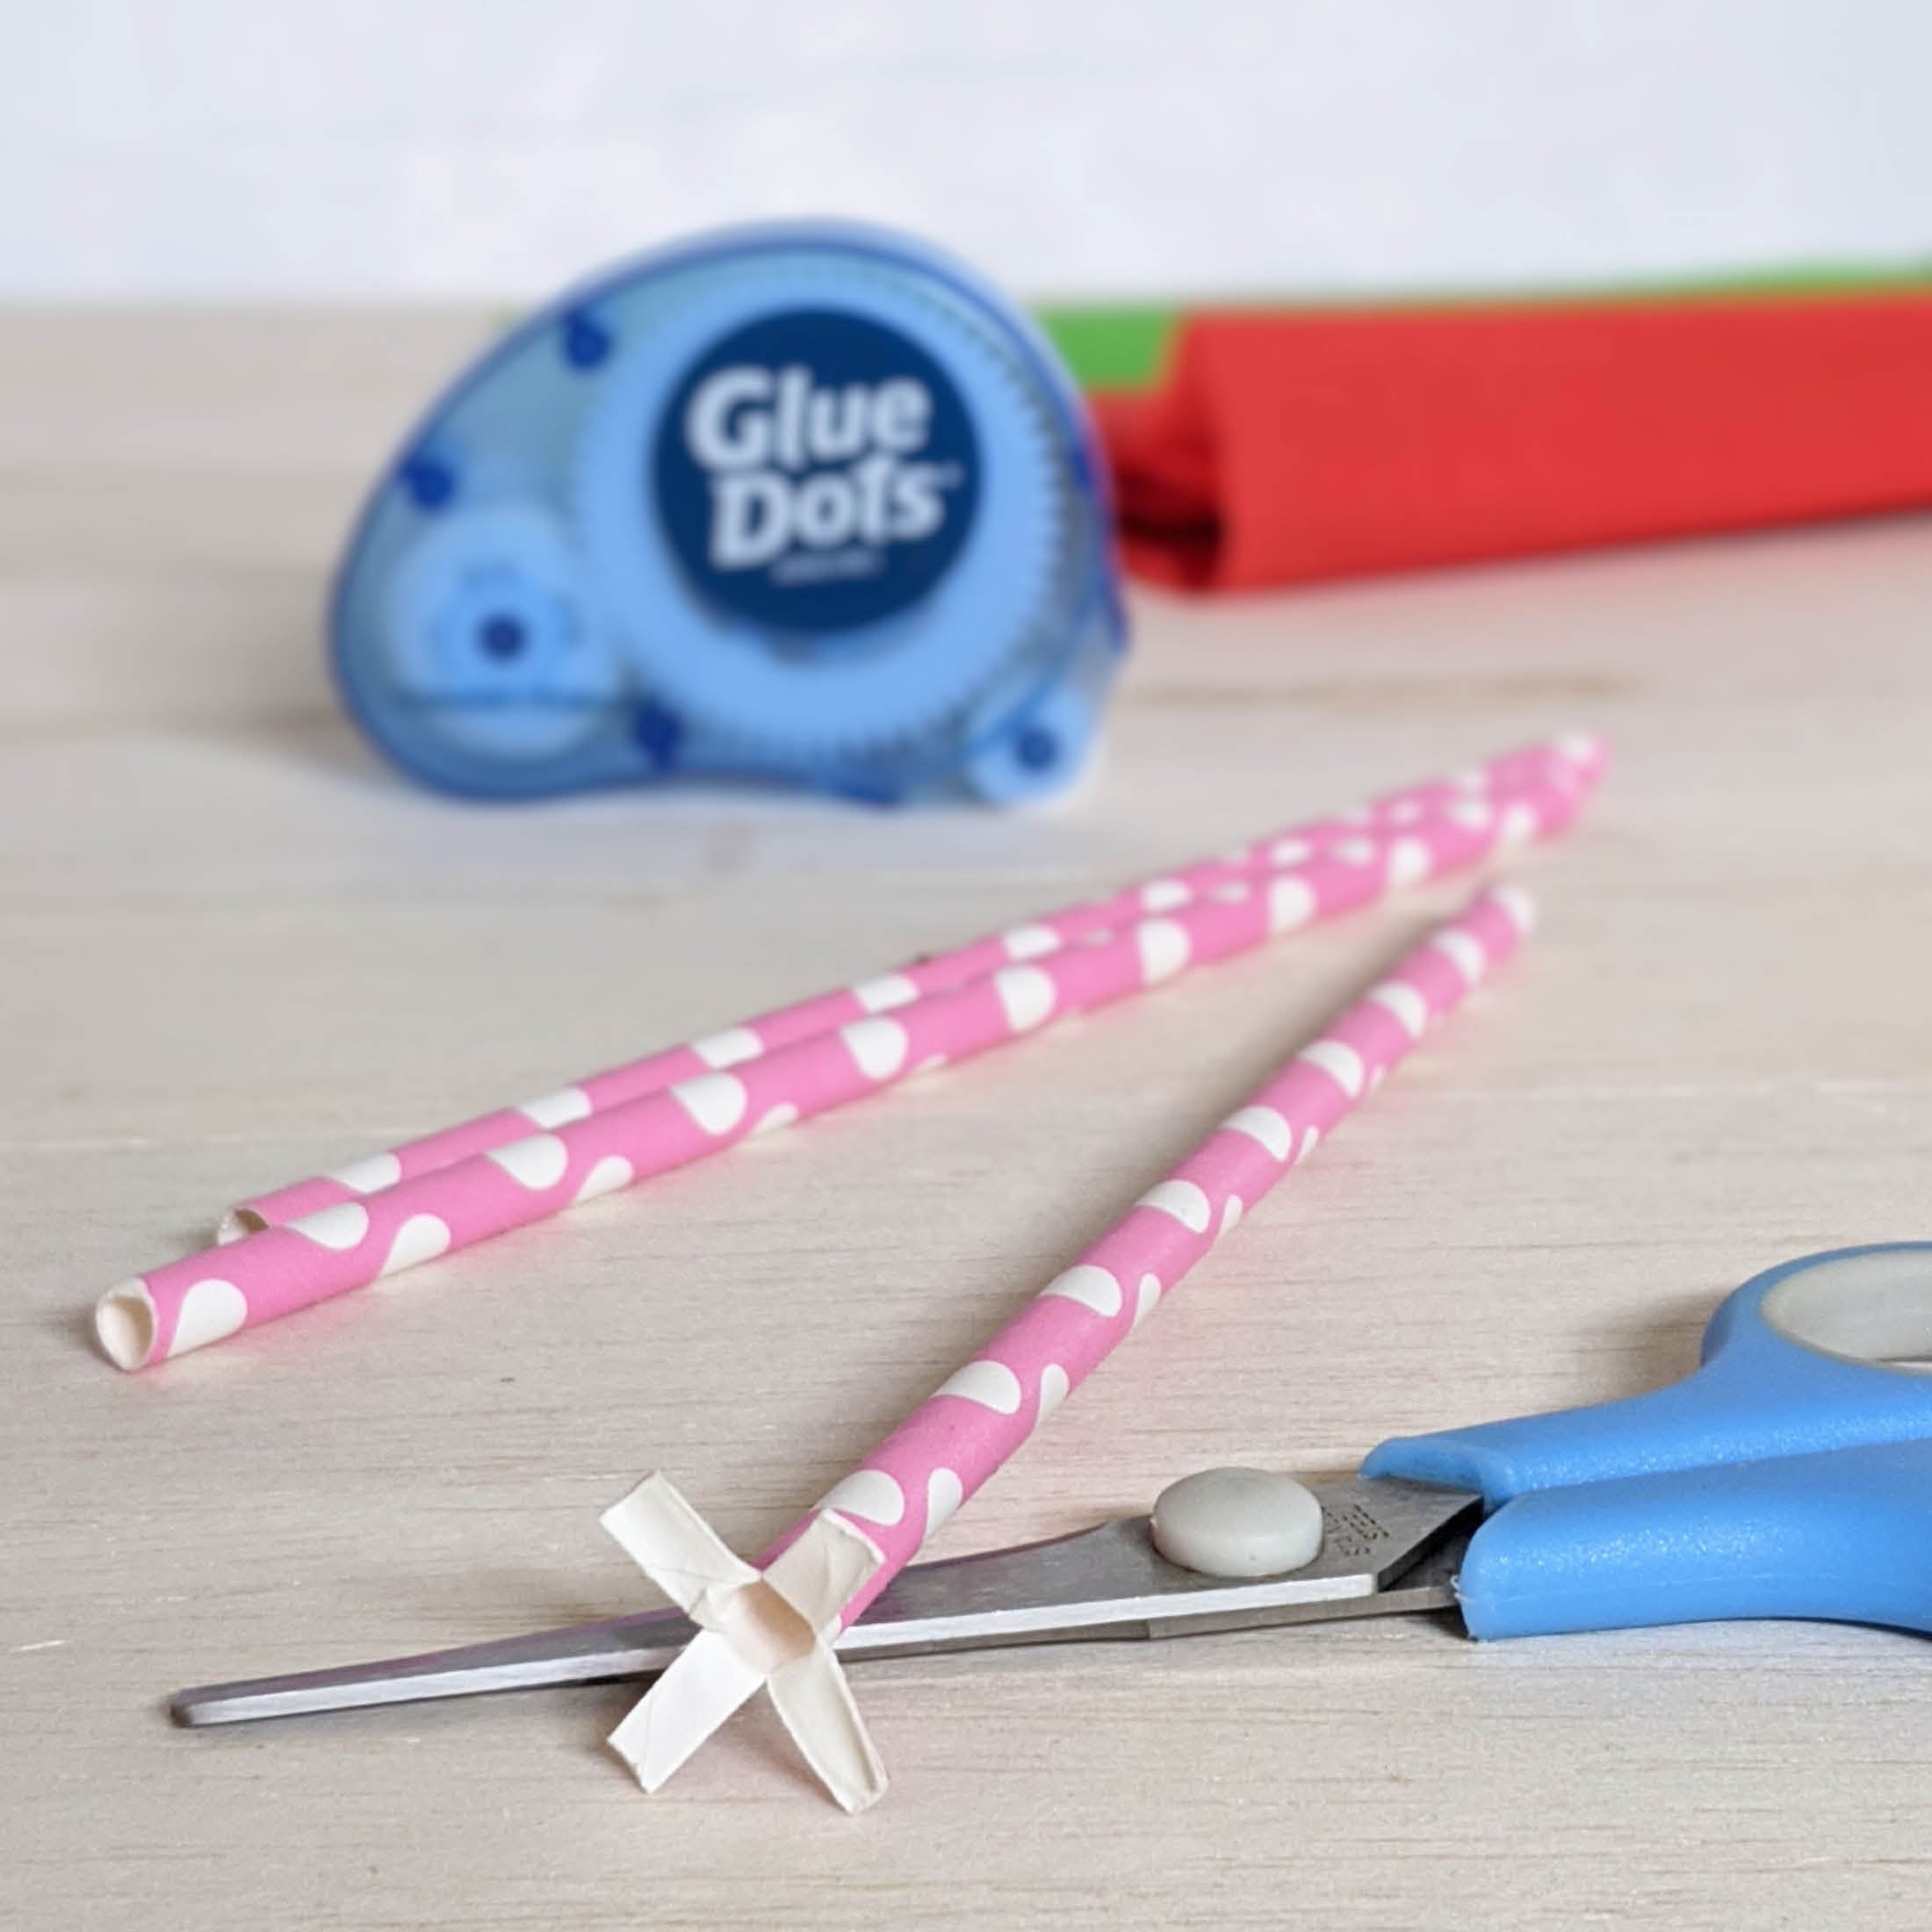
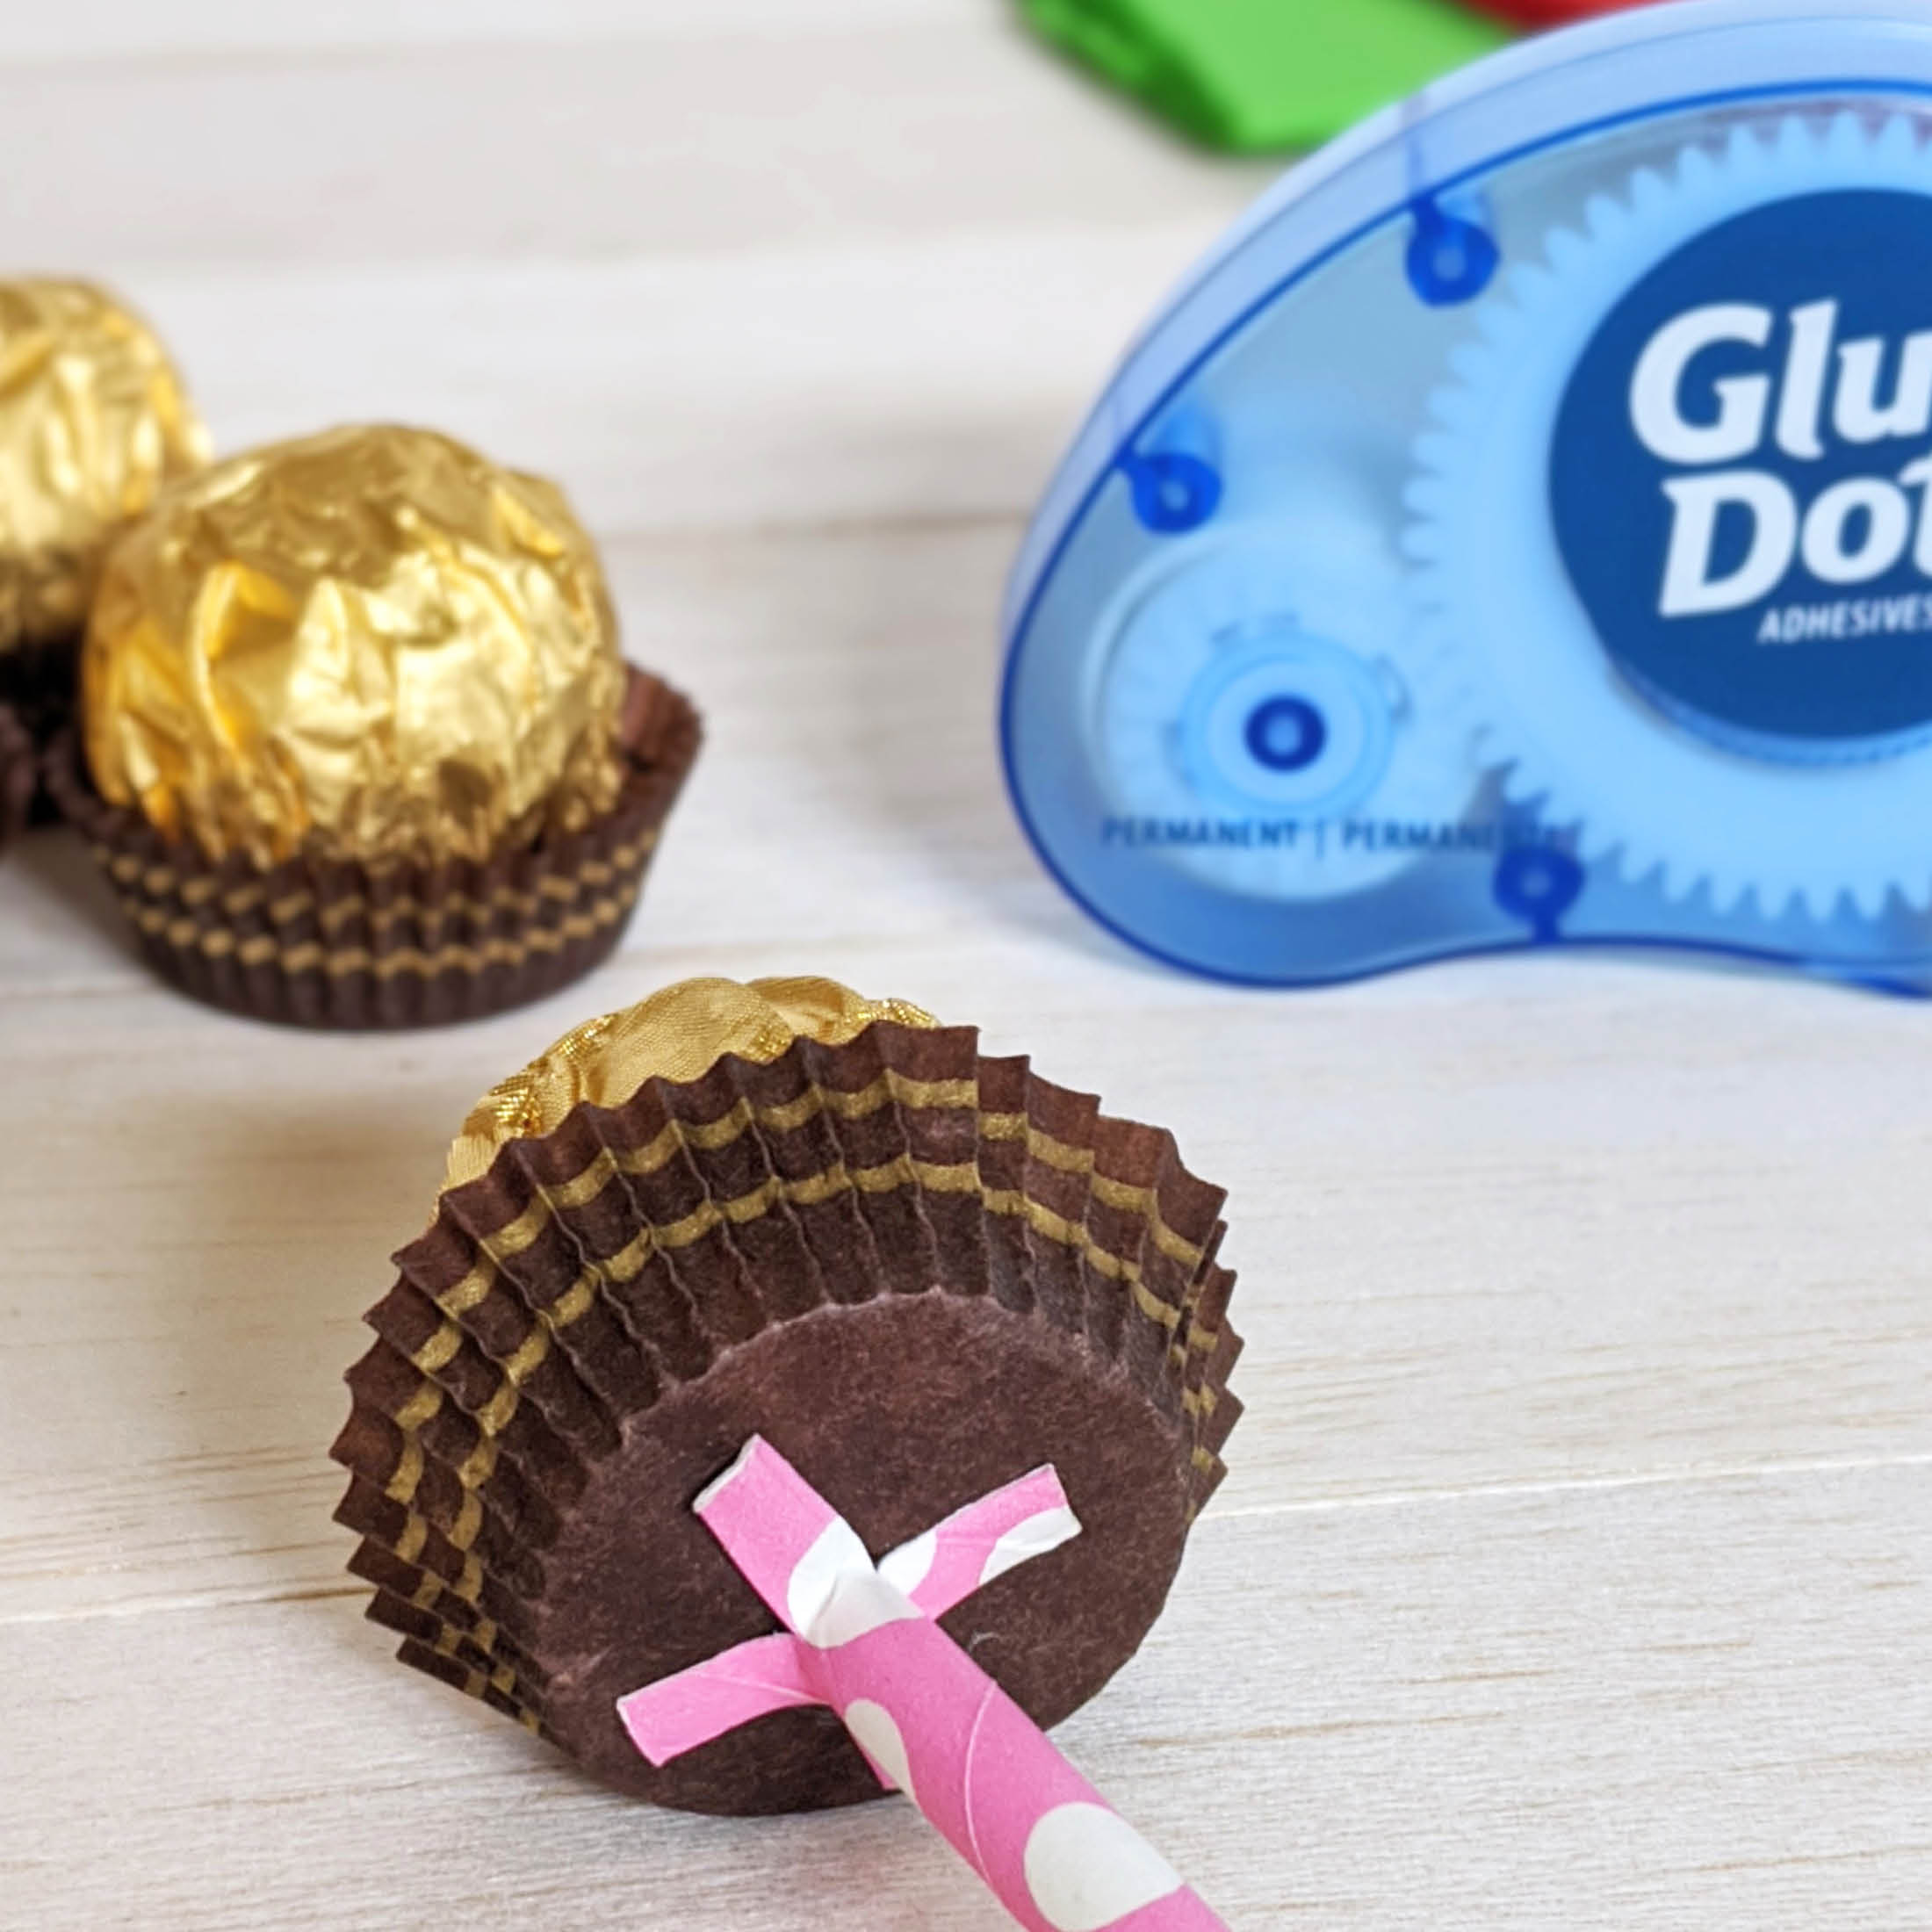
Cut a 1cm cross at one end of the straw and flay each side out to form a flat base.
Step 3: Apply Glue Dots
Carefully place a Glue Dot at the base of a chocolate. Press the straw into the Glue Dot ensuring each fork of the splayed straw attaches firmly to the Glue Dot.
Step 4: Wrap the chocolate
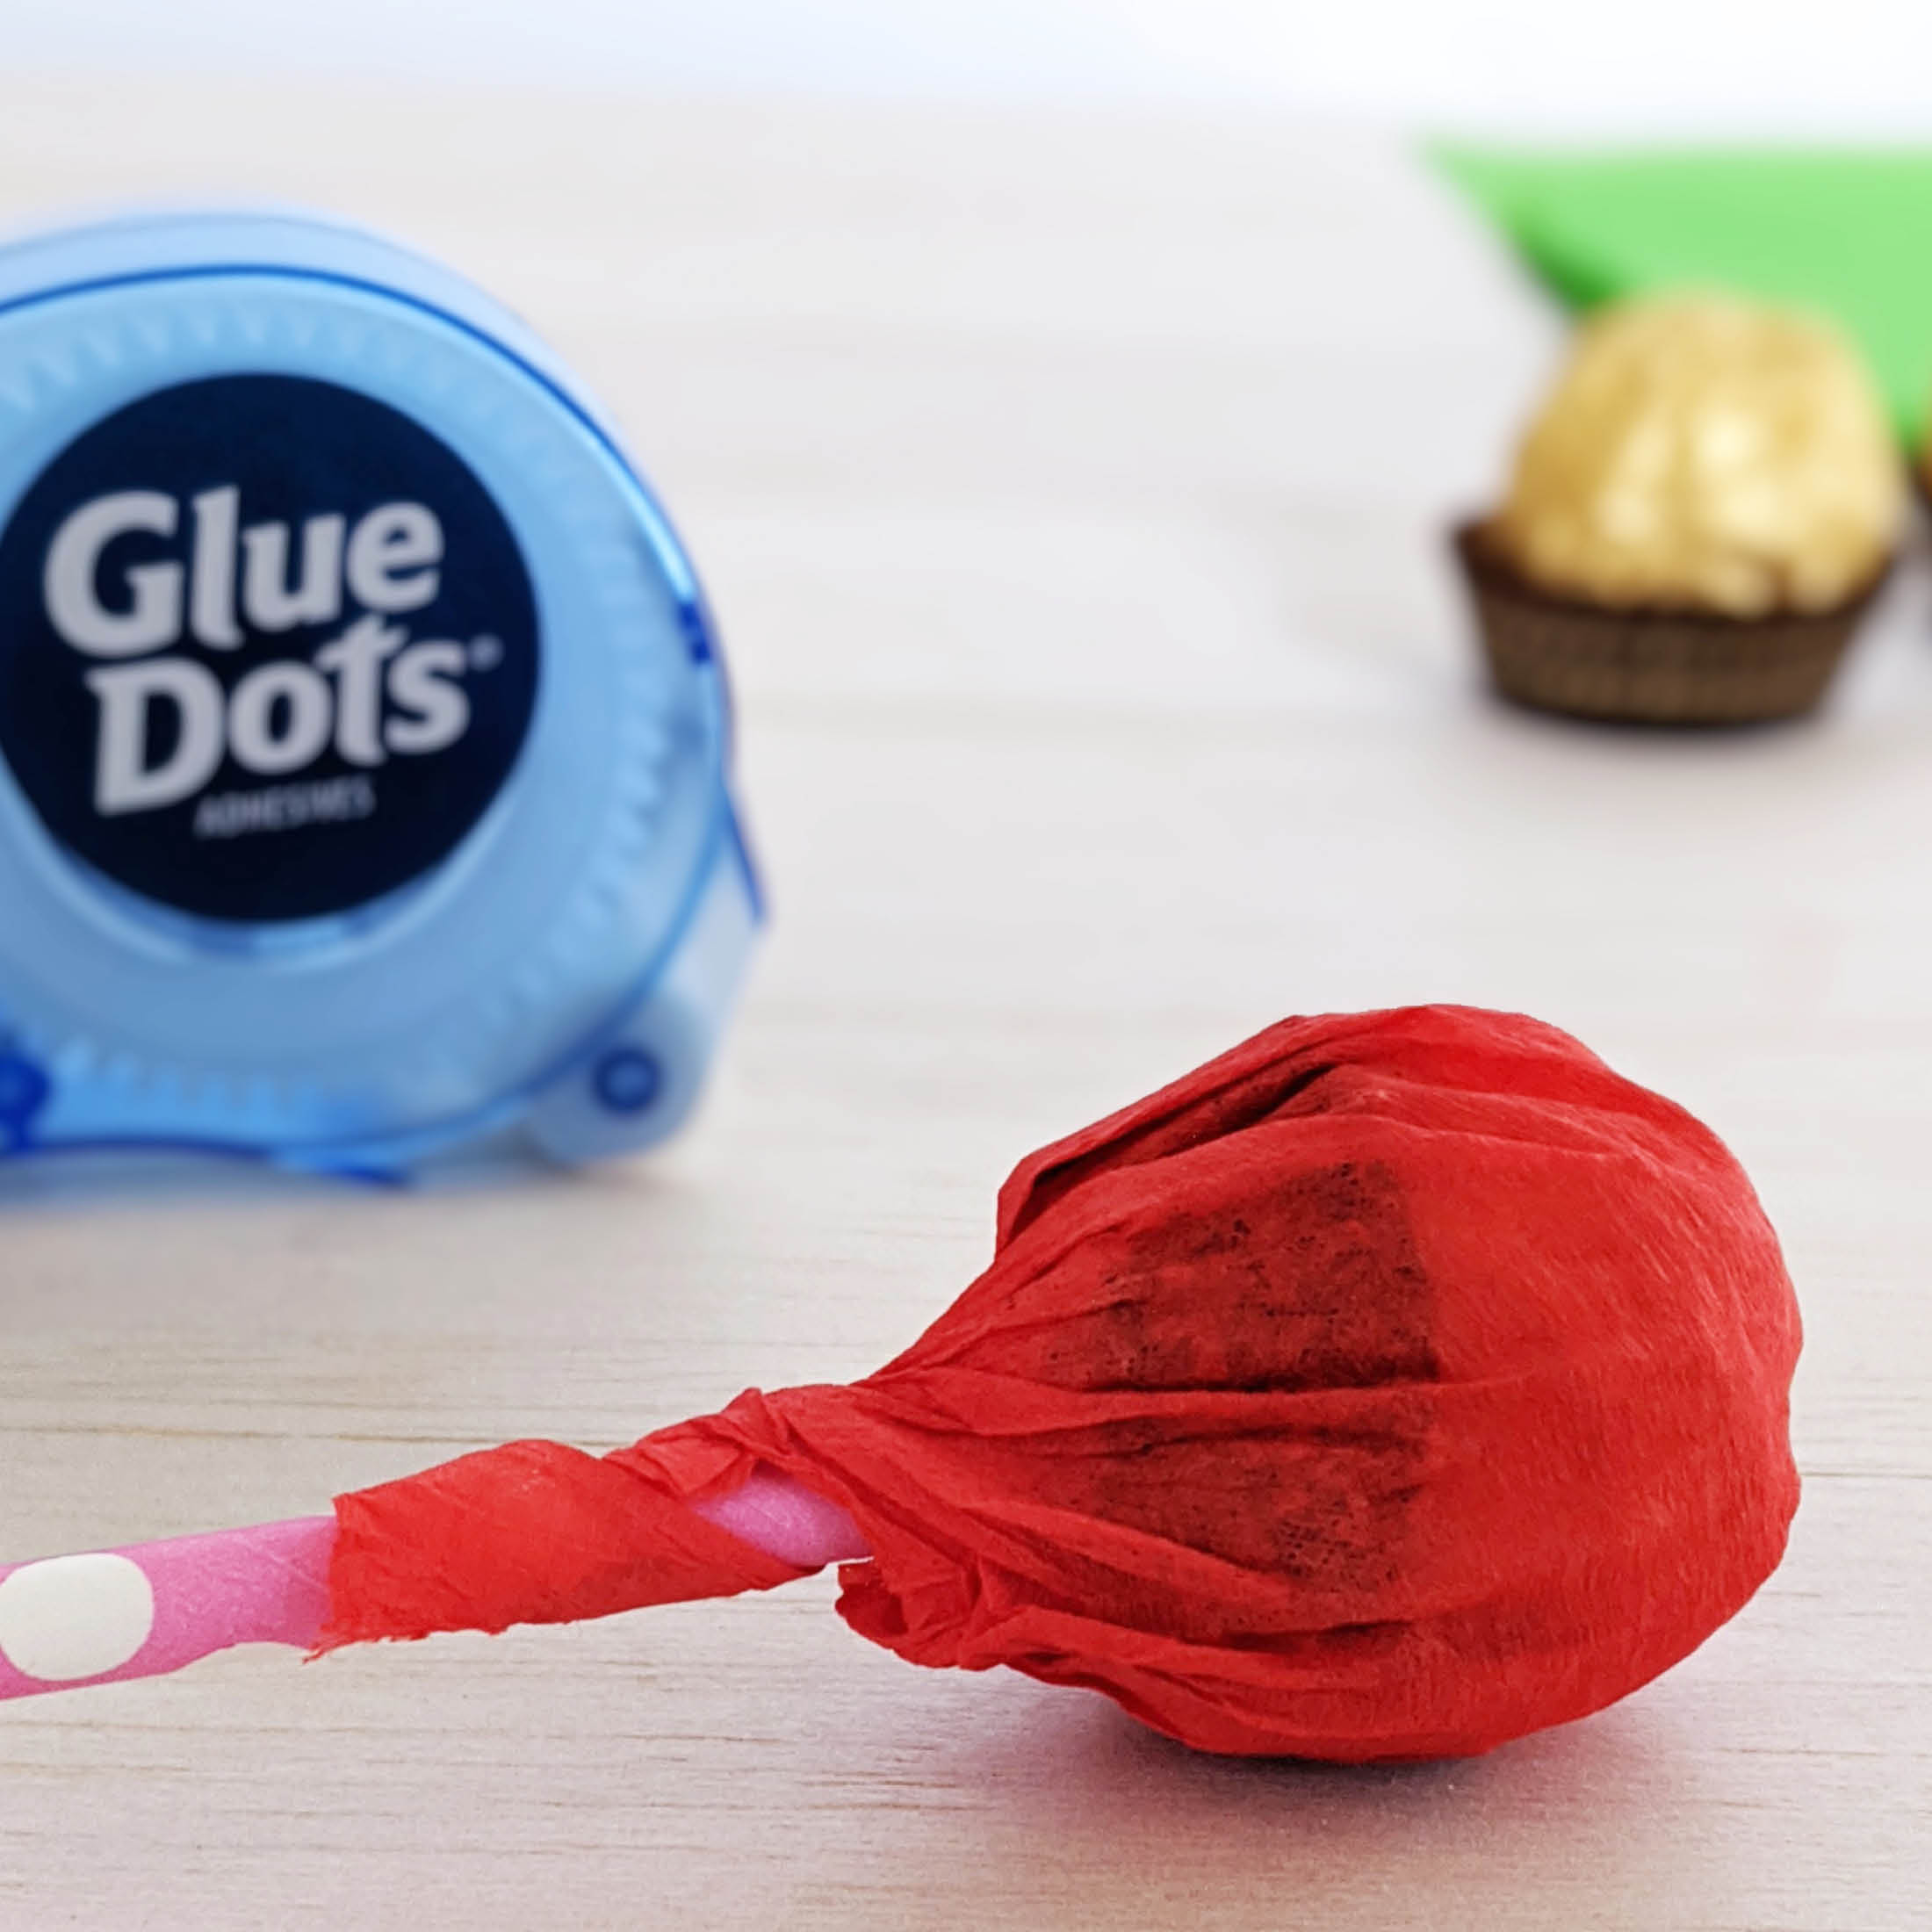
Cut a piece of red crepe paper and wrap over the chocolate, twist the base of the paper and secure to the straw with a Glue Dot.
Step 5: Wrap the stem
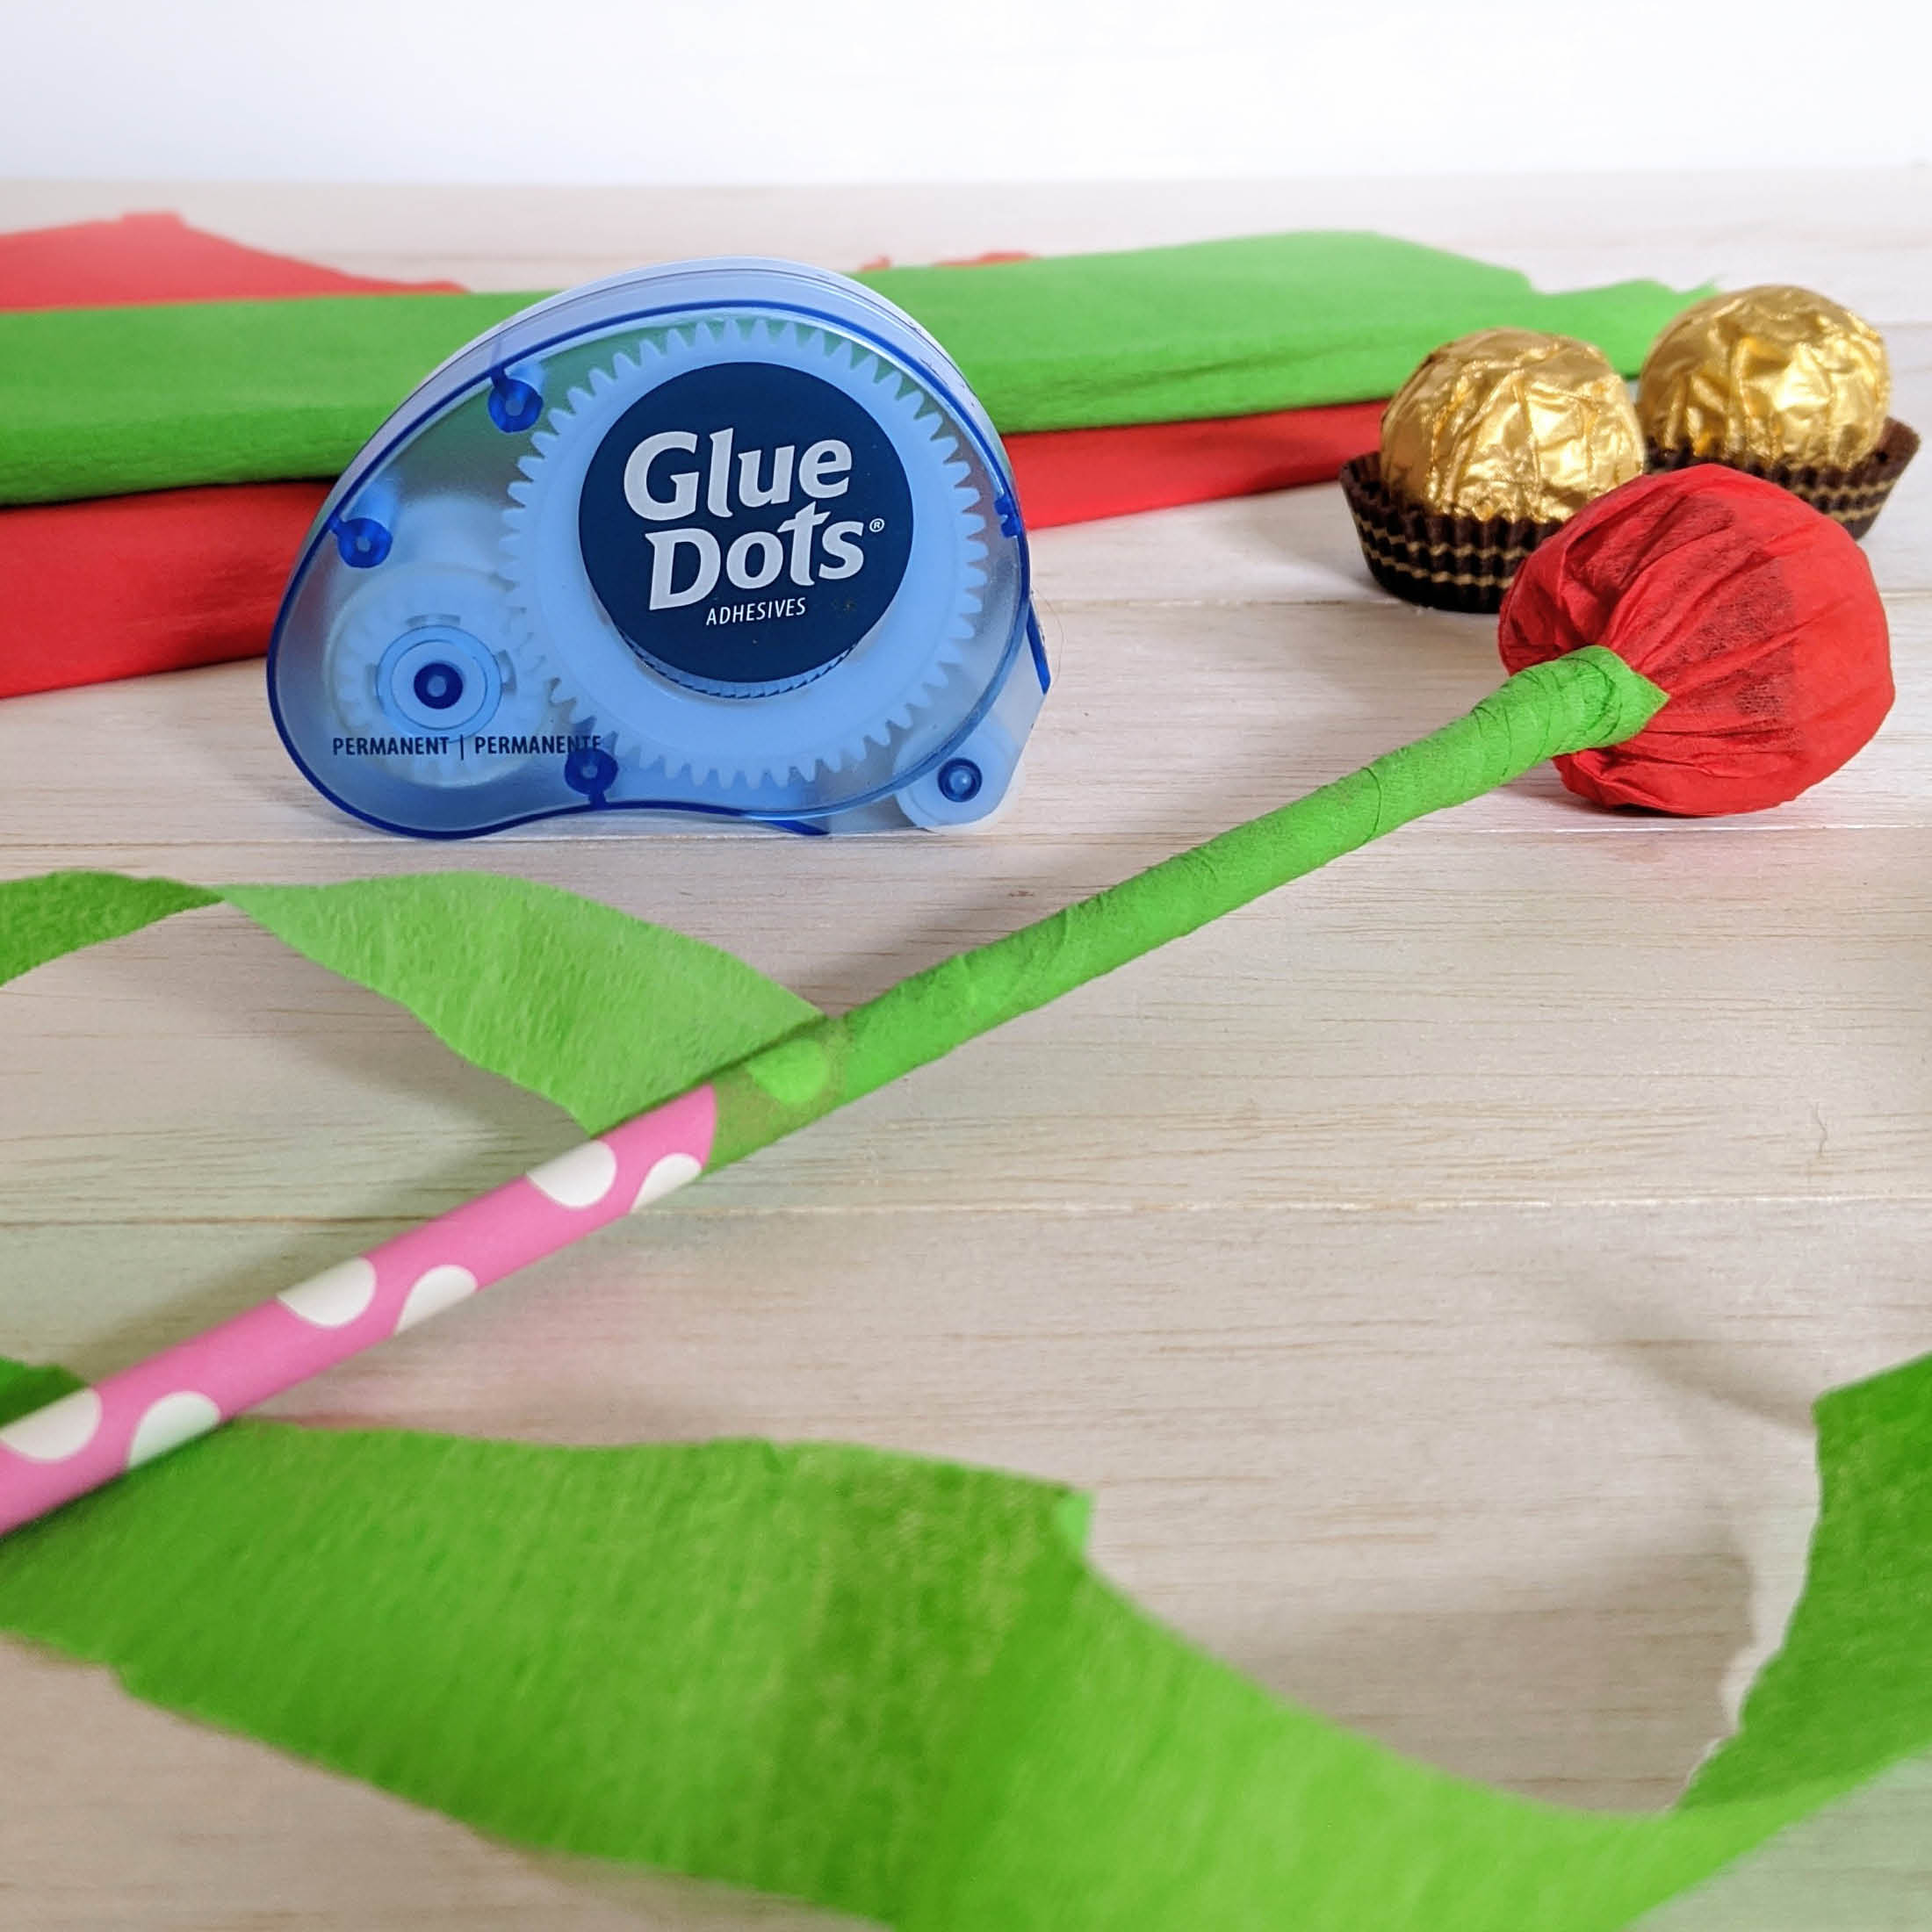
Cut a long strip of green crepe paper and attach to the top with a Glue Dot. Wrap the straw by twisting the paper down the straw until it is completely covered. Secure at the bottom with a Glue Dot.
Step 5: Add petals
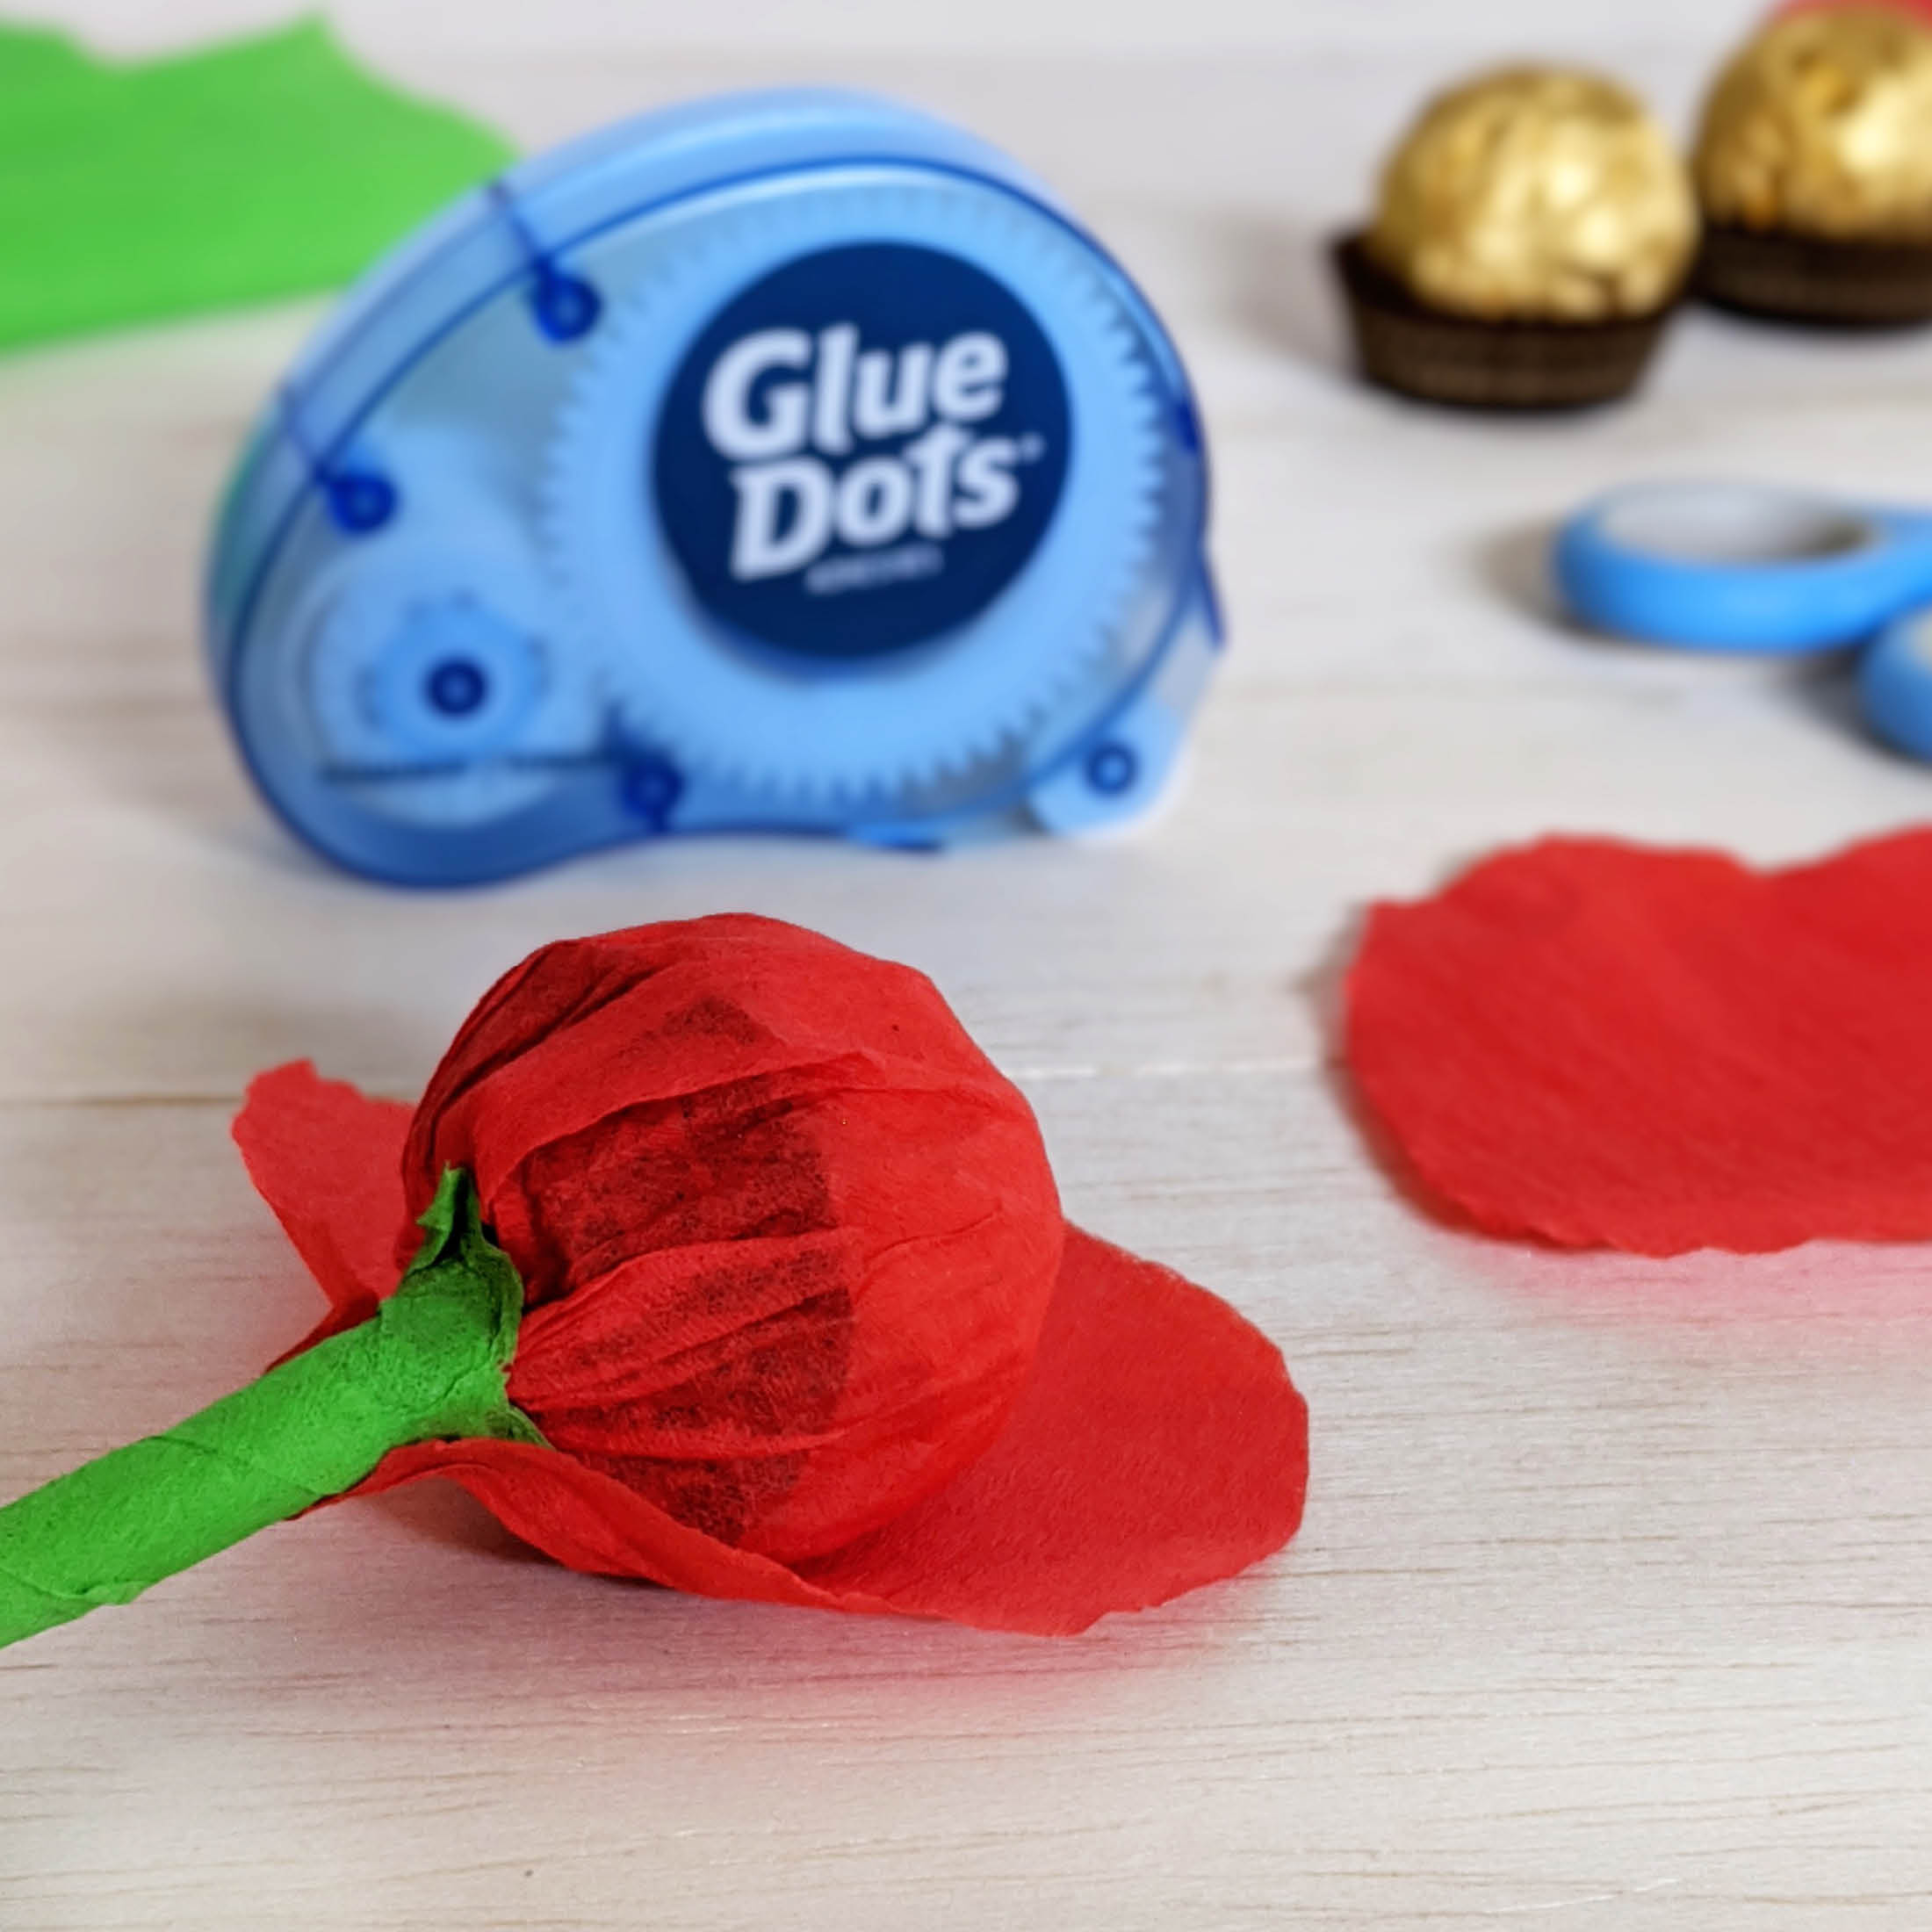
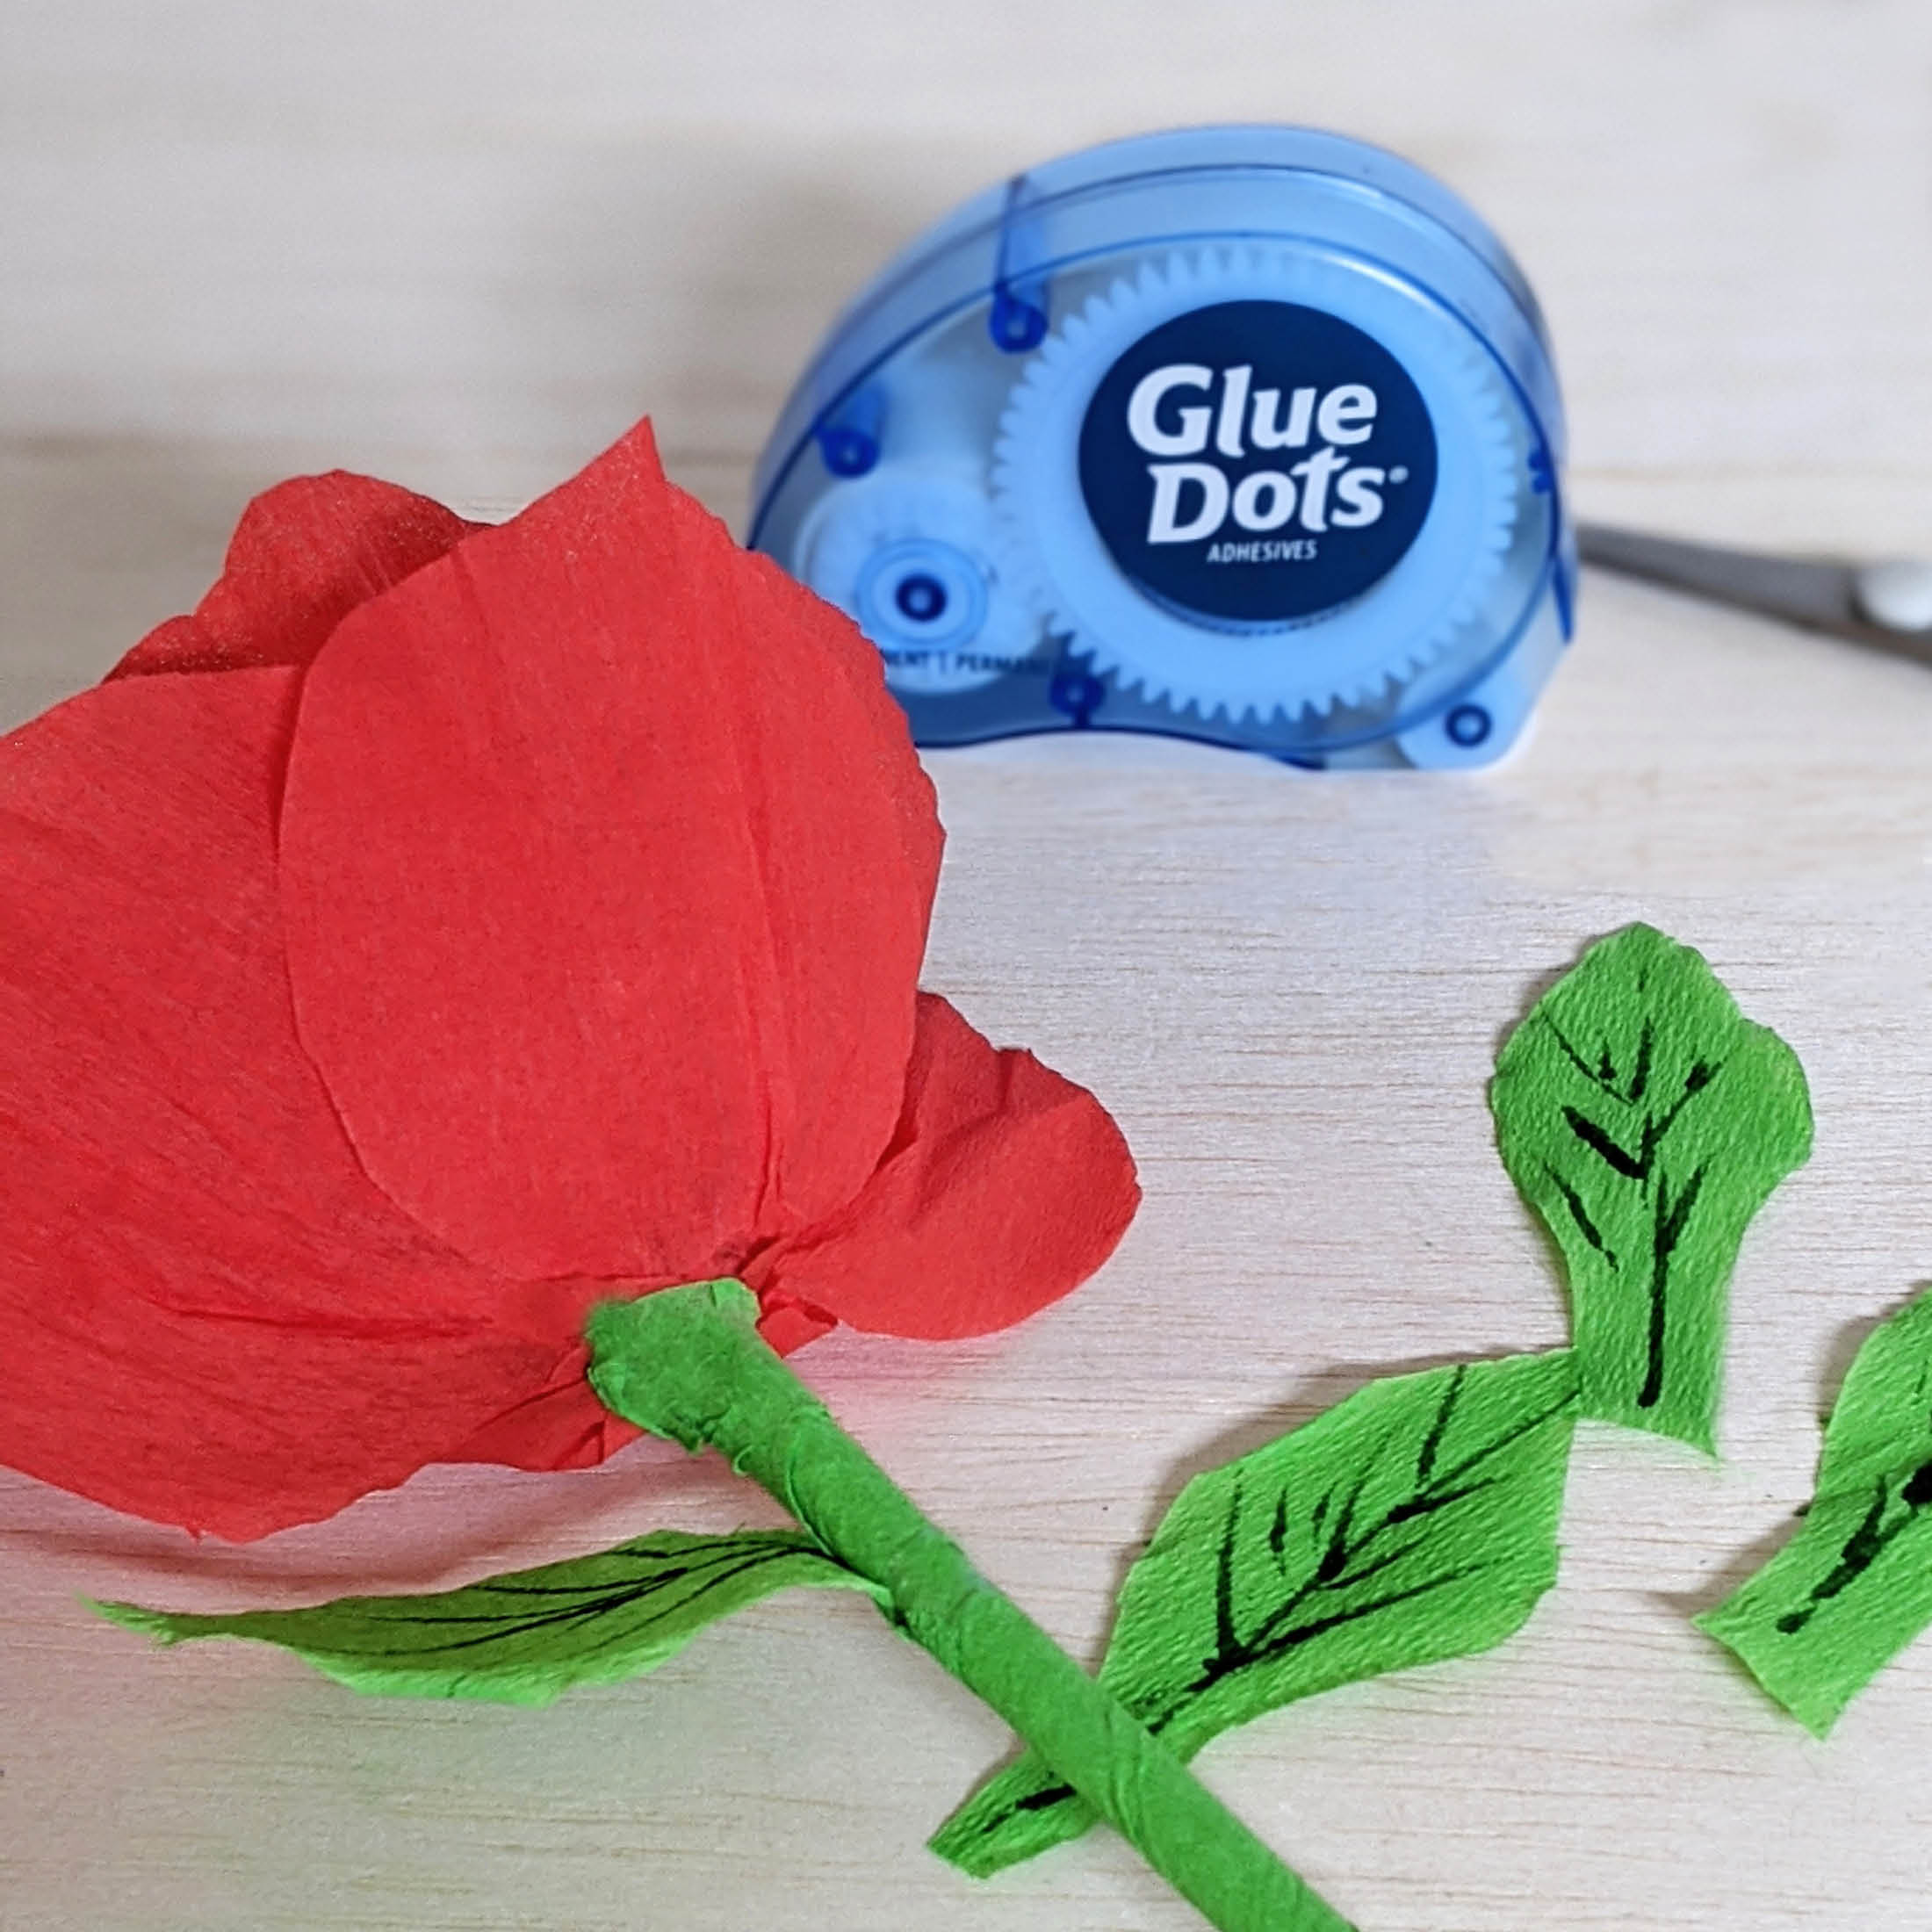
Use scissors to cut petals from the crepe paper and then attach each petal at the base of the chocolate with a Glue Dot. Go around the chocolate several times to ensure multiple layers of petals.
Step 5: Add leaves
Use scissors to cut leaf shapes. Use the marker to draw some detail on each lea and attach down the stem with Glue Dot to finish your rose.

Step 5: Finish your rose
Finish your rose (or bunch of roses) and give it to your loved one!


