Santa Gifts Go Here
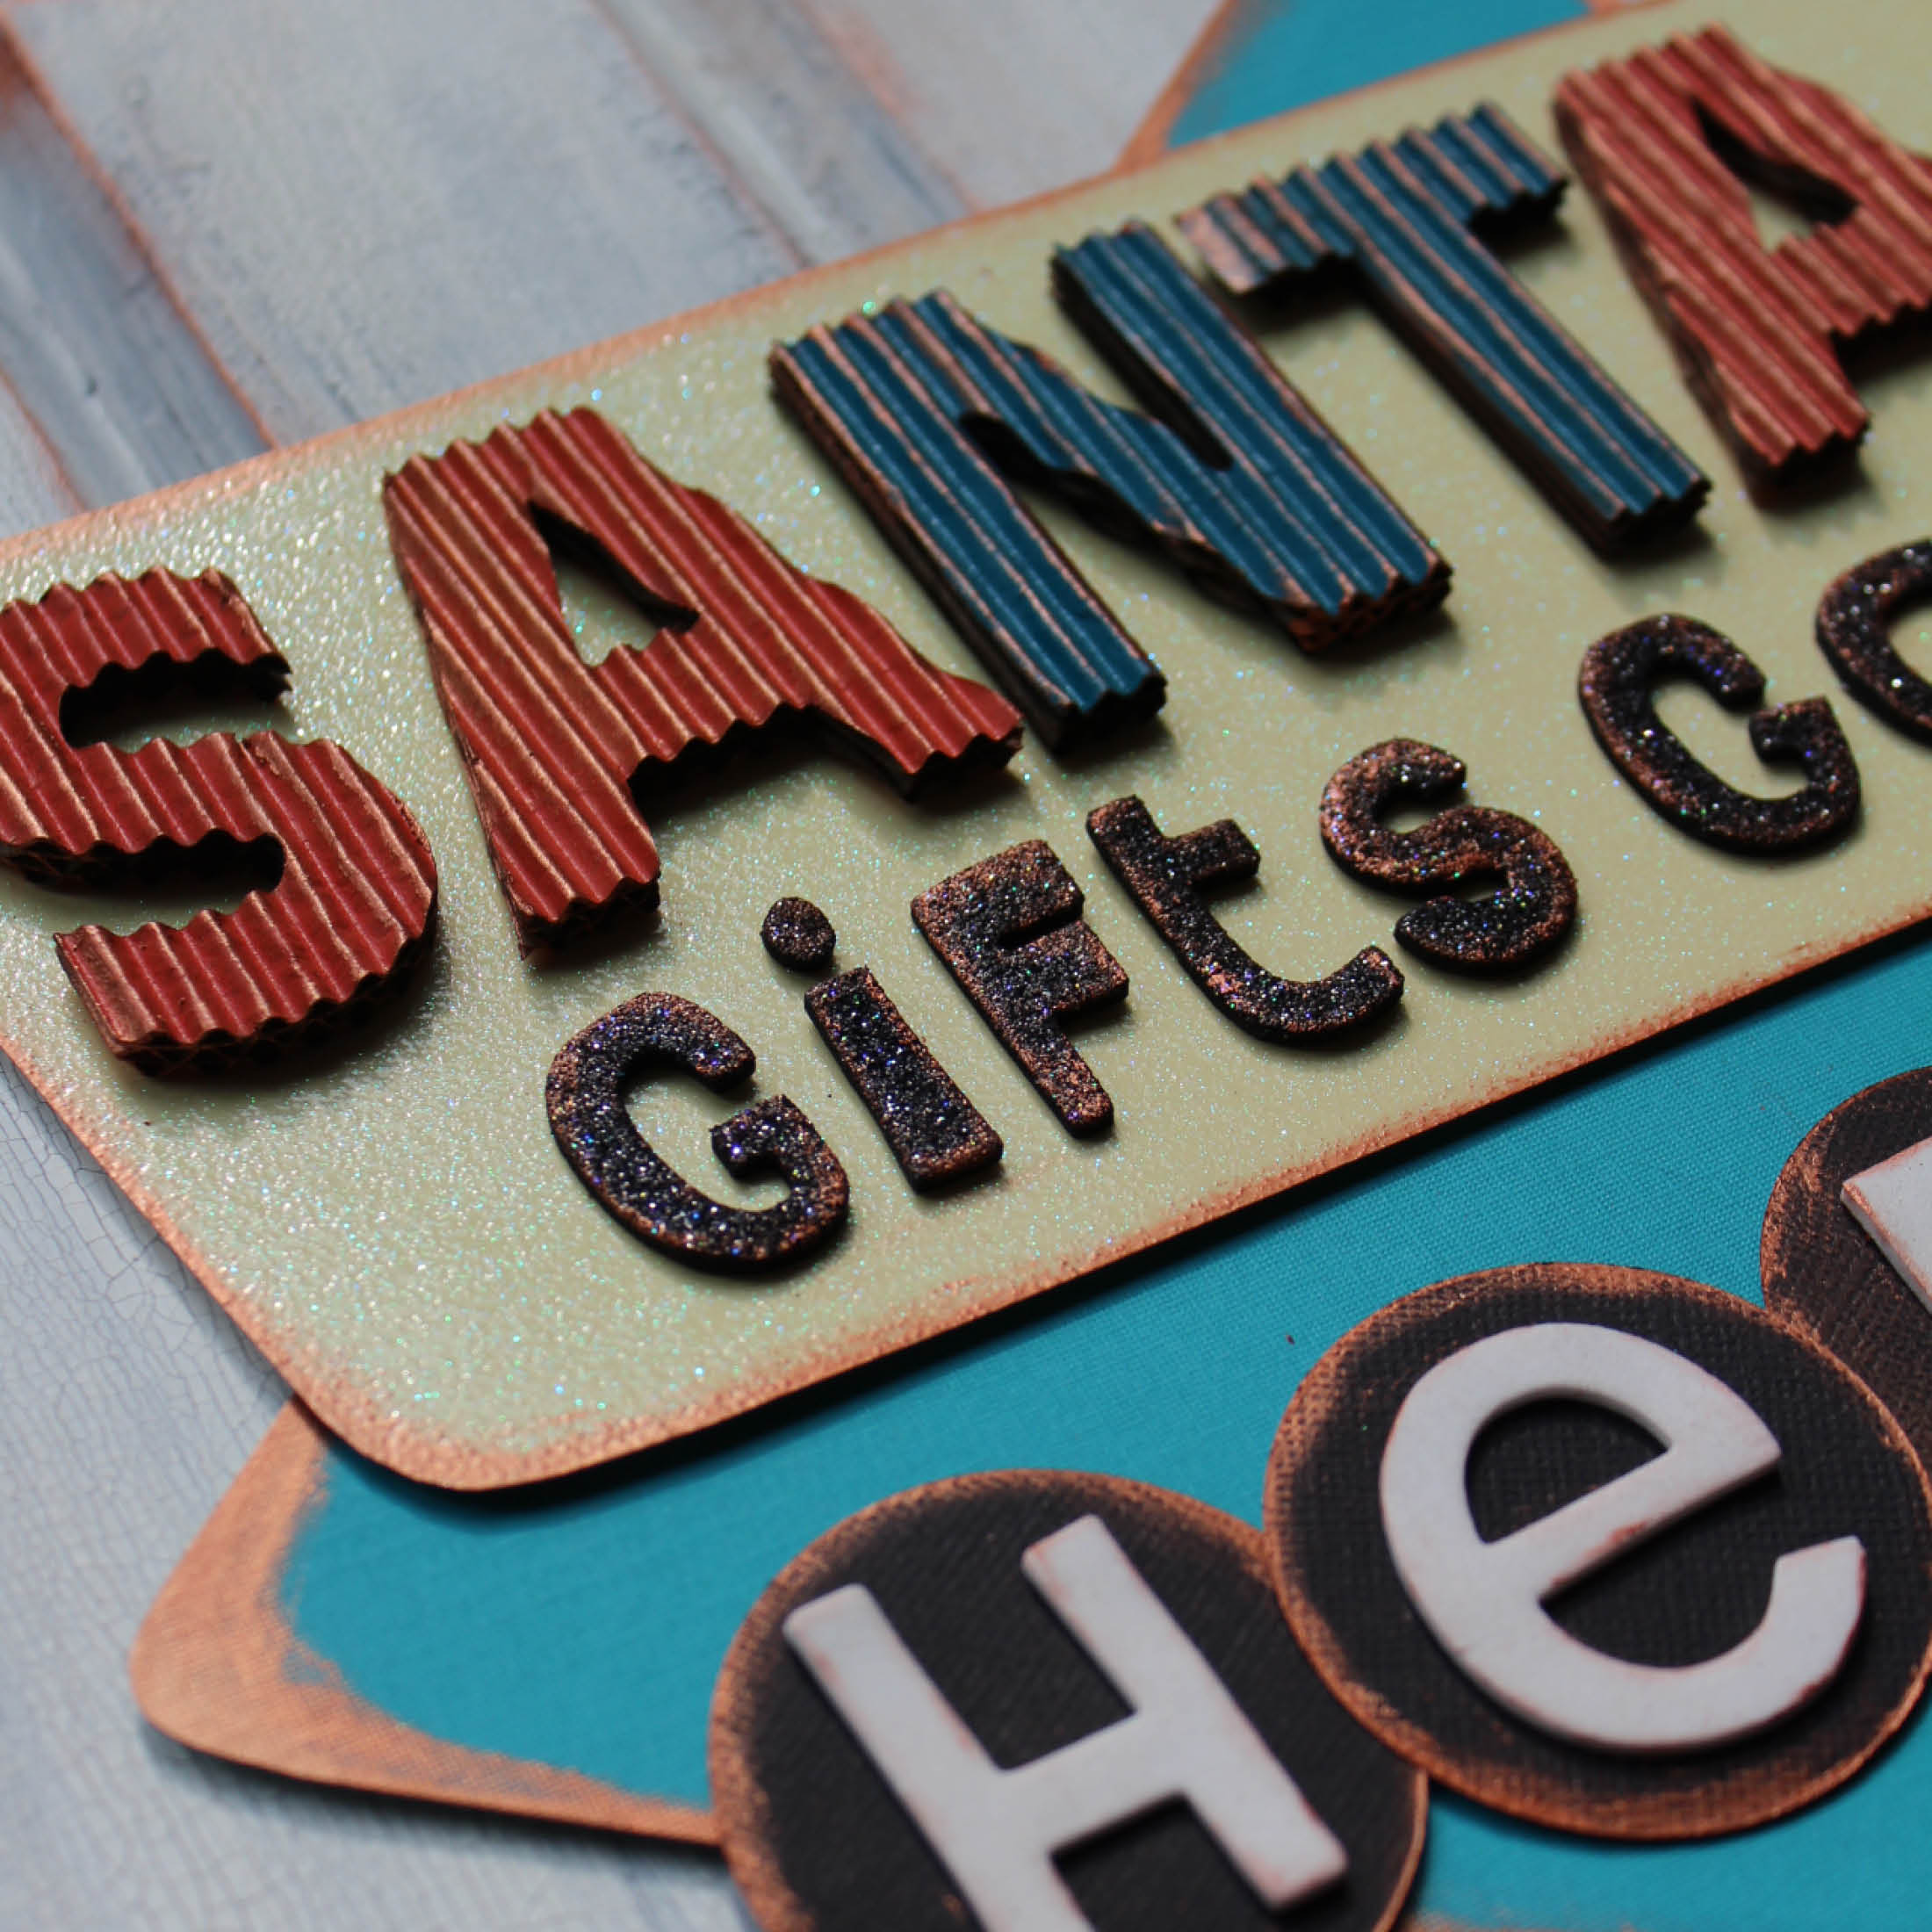
Make your own vintage-inspired sign this Christmas with leftover wood from a building project, craft supplies and Glue Dots!
Project by Danielle Hunter.
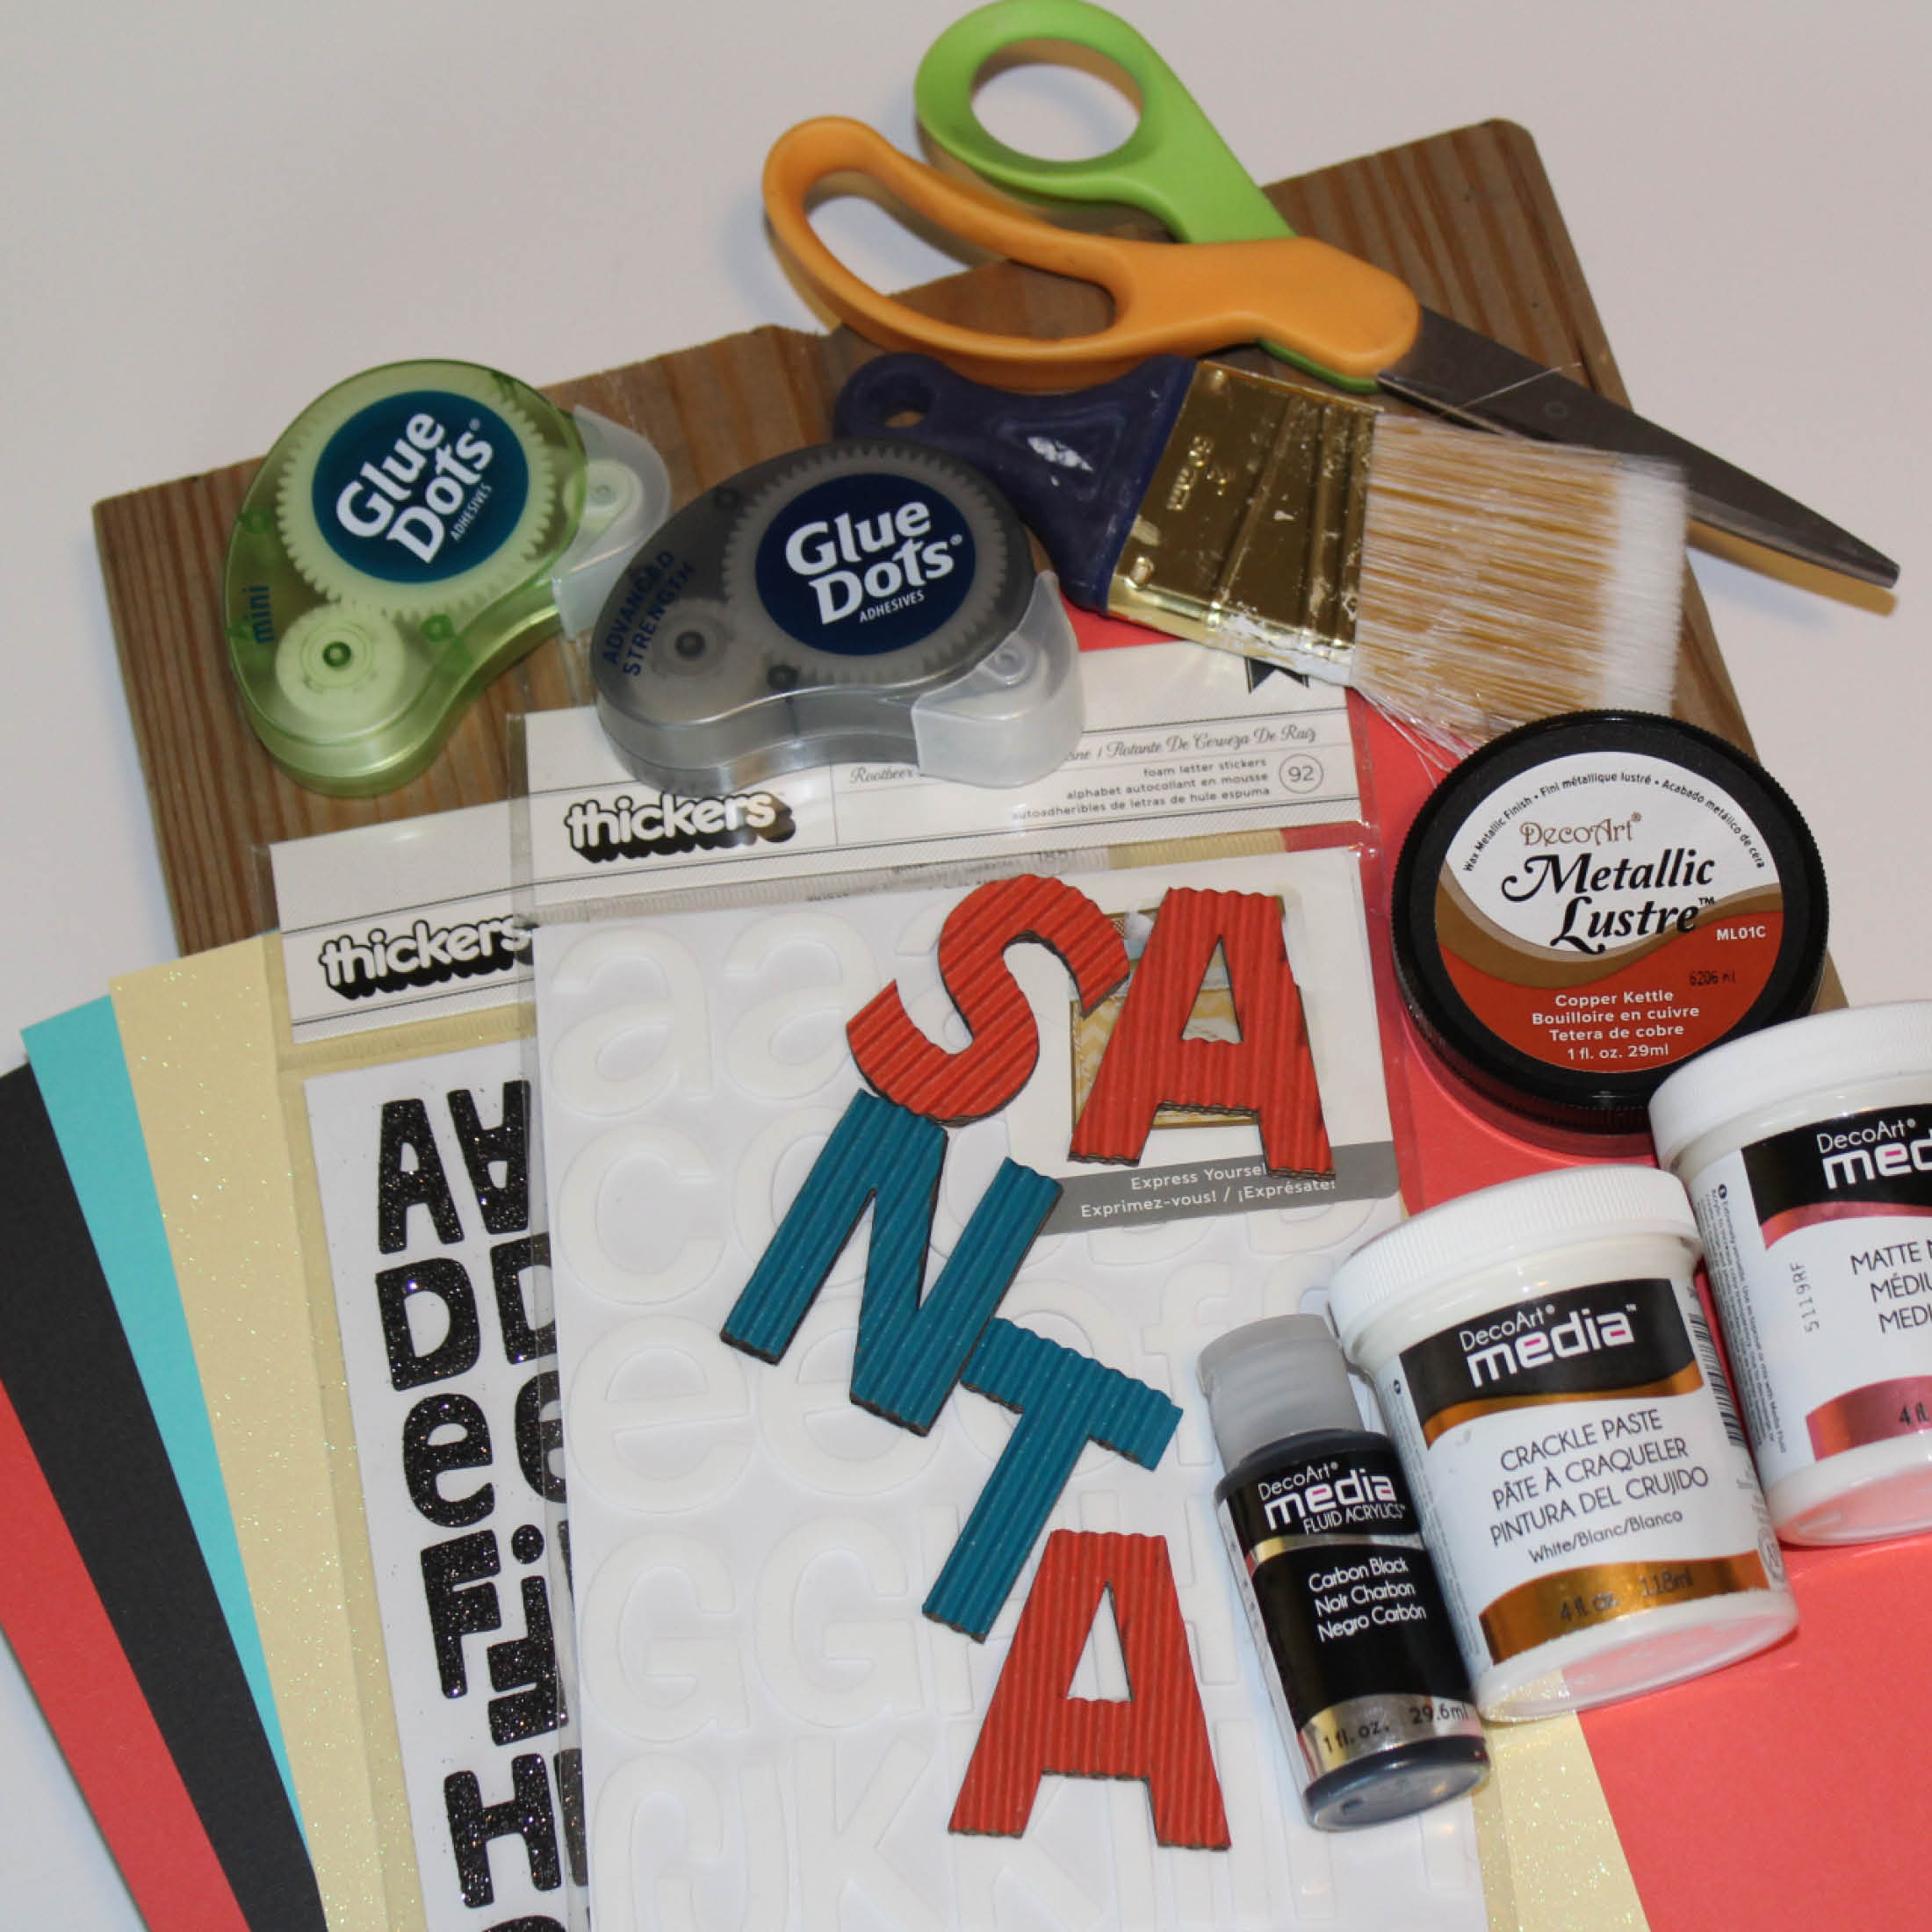
Step 1: Gather your materials
For this project you will need:
- Glue Dots Advanced Strength Dot N Go
- Glue Dots Mini Dots
- Deco Art Media Fluid Acrylic Paint (Carbon Black)
- Deco Art Media Matte Medium
- Deco Art Media Crackle Paste (White)
- Deco Art Metallic Lustre (Copper Kettle)
- DCWV Textured Cardstock (Black, Teal, Red)
- DCWV Glitter Cardstock (Pale Yellow)
- Thickers (Rootbeer Float – White, Niki Riki – Black)
- Make Market corrugate letters (red, teal)
- 11″ x 16″ Wood panel (1.5″ thick)
- Cardboard
- 2″ Circle Punch or Die Cut
- Paper Trimmer
- Scissors
- Paintbrushes
- Mini Spatula
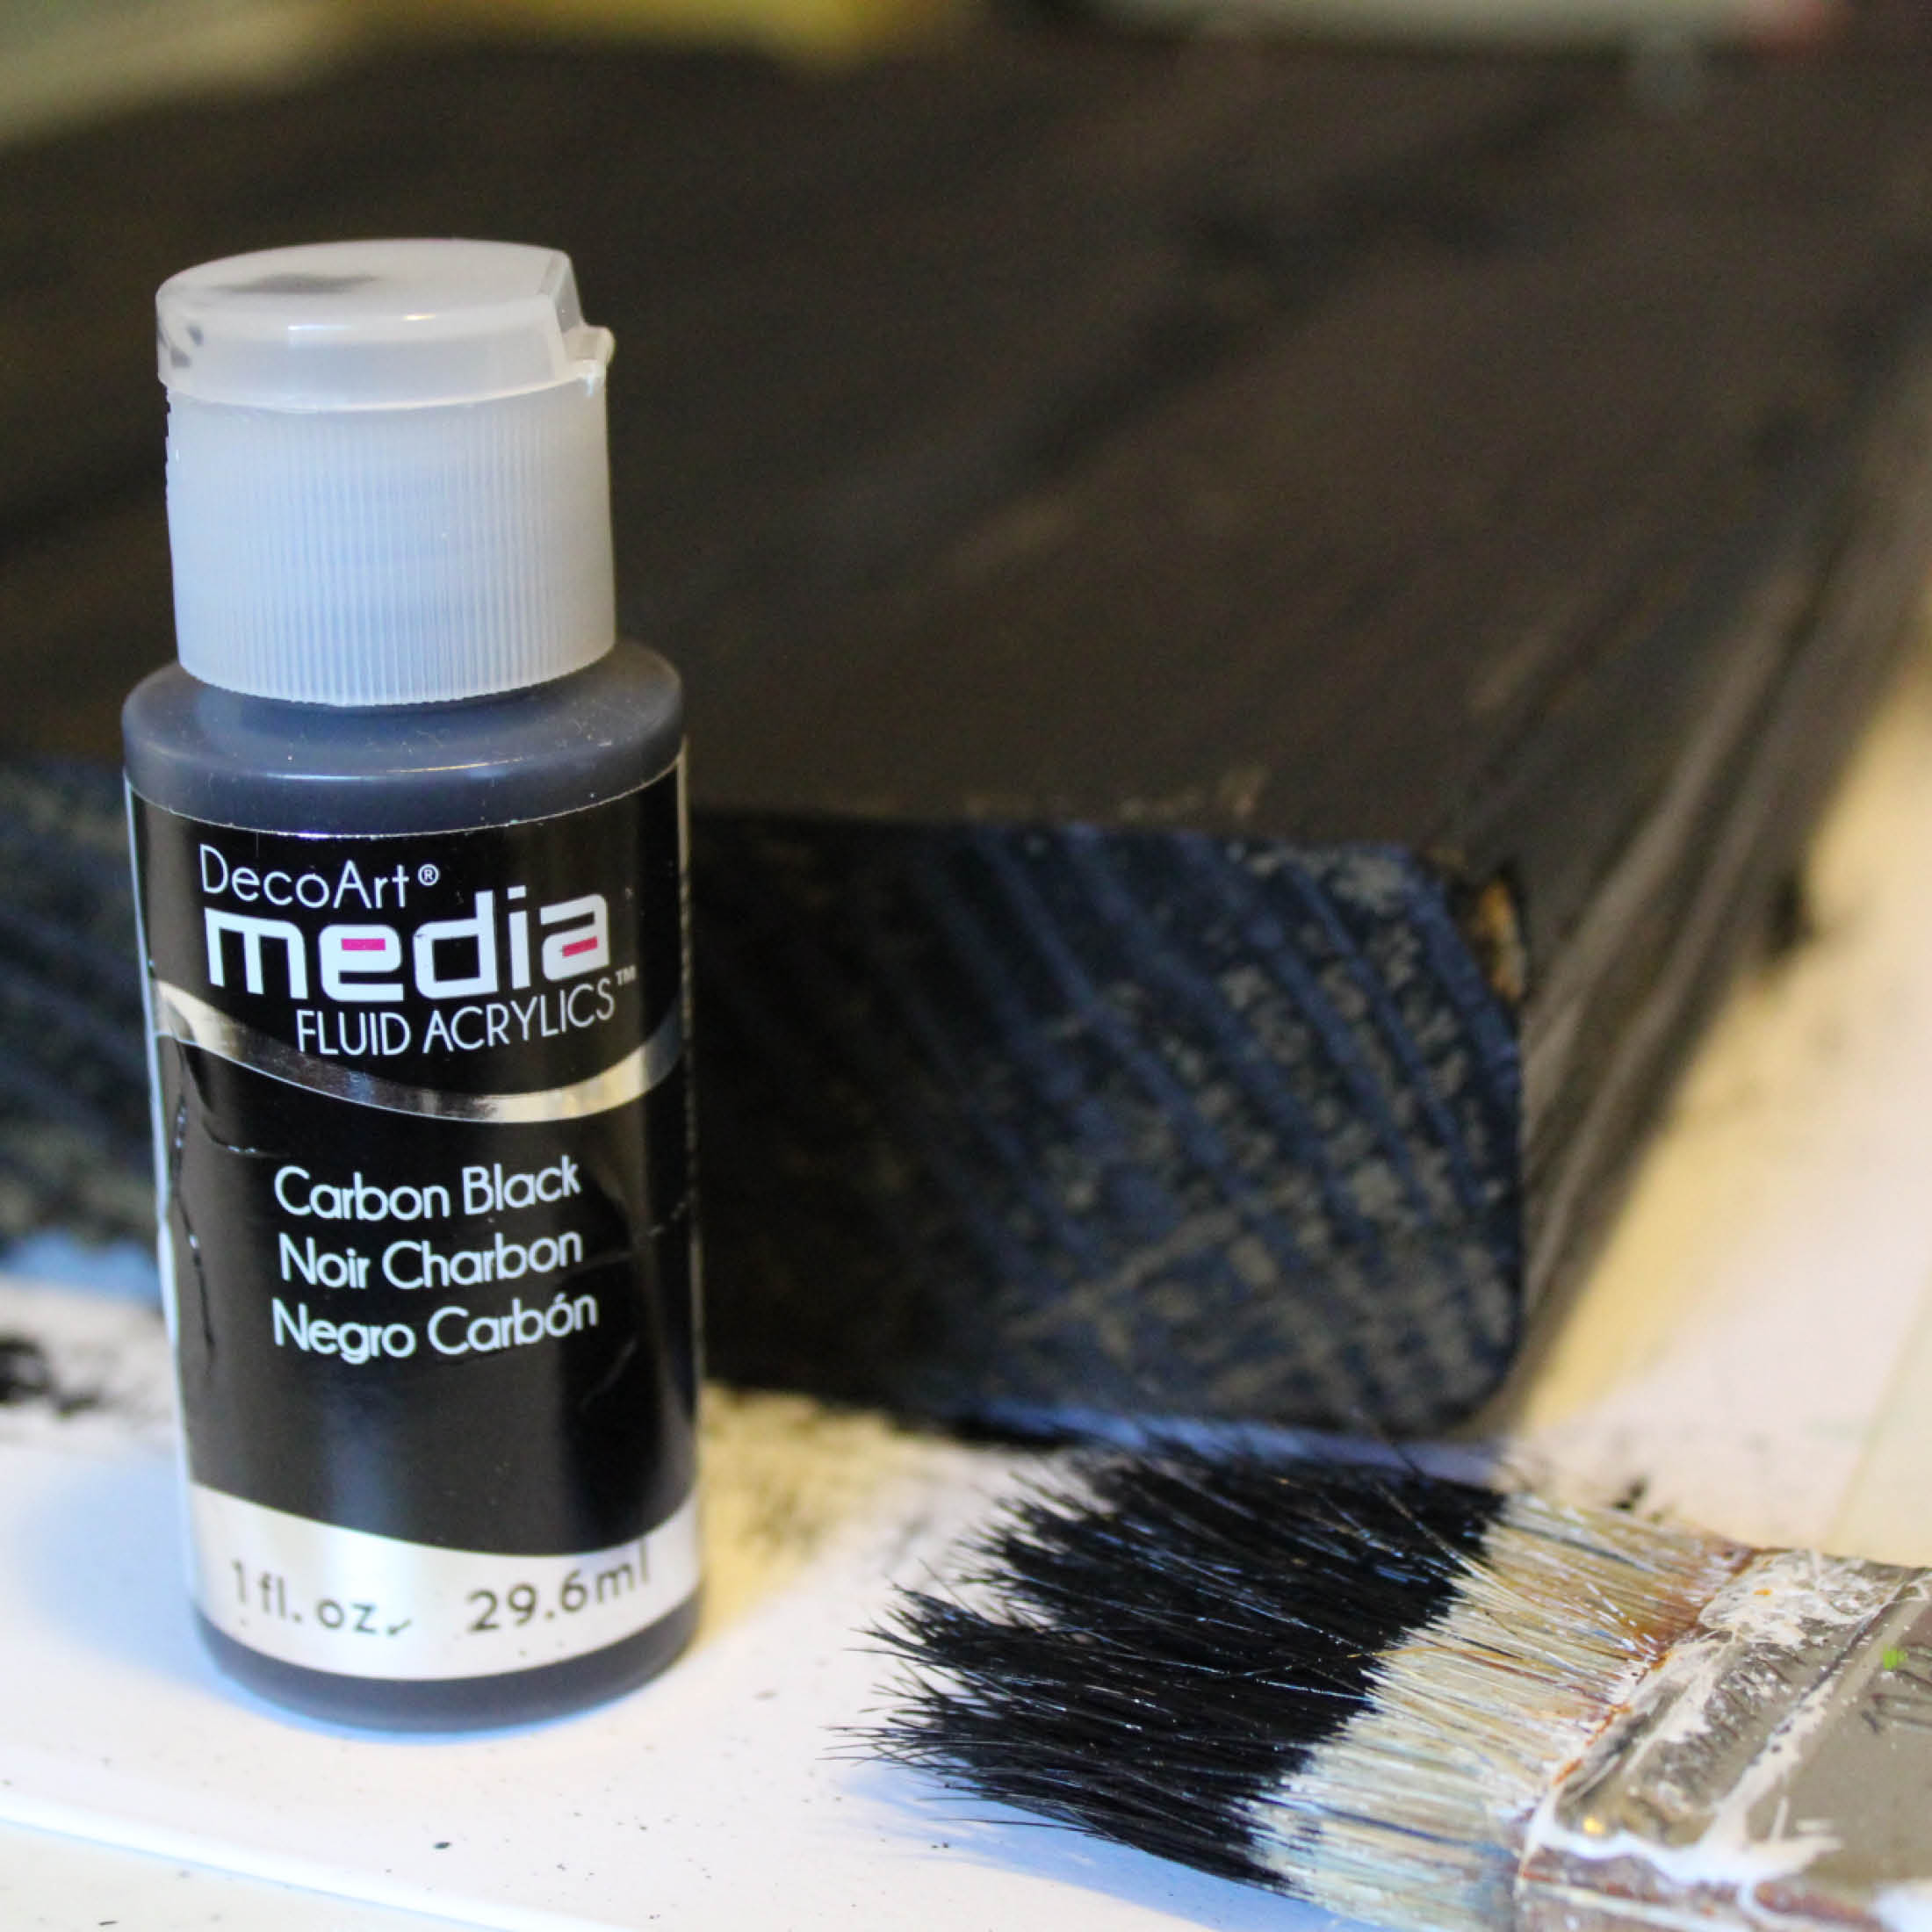
Step 2: Prepare base coat
Sand wood and wipe clean.
Apply a quick coat of black acrylic paint. Paint doesn’t need to cover every part of the wood. Let dry.

Step 3: Apply white paint
Apply one coat of matte medium over entire piece of wood. Let dry.
Step 4: Apply crackle
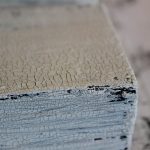
Apply crackle paste to wood with mini spatula and paintbrush. Let dry.
Step 5: Cut out your shapes
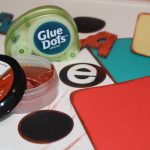
Cut triangle shapes with teal (11.5 x 9.5 x 9.5″), red (5 x 4 x 4″) and glitter (4 x 2.75 x 2.75″) cardstock.
Cut a 9 x 4.5 x 7 x 4″ trapezoid shape with glitter cardstock.
Create 4 circles using a punch or die cut and black cardstock.

Step 5: Apply metallic lustre
Apply metallic lustre to edges of wood, paper shapes and letters using a paintbrush.
Cut cardboard to fit each cardstock shape and attach to the back of shapes with Advanced Strength Dots.
Use Advanced Strength Dots to attach shapes to the wood.

Step 5: Adhere your letters
Apply corrugate and sticker letters to the wood sign using Mini Dots. Mini Dots add extra adhesion to letter stickers.

Project Tips
- Use different colored cardstock to match your holiday home decor.
- For a more lightweight option, use thick cardboard instead of wood and hang with Glue Dots HybriBond Repositionable Mounting Tape.


